Mastering Two-Point Perspective: A Comprehensive Guide for Interior Design and Architecture Students
/
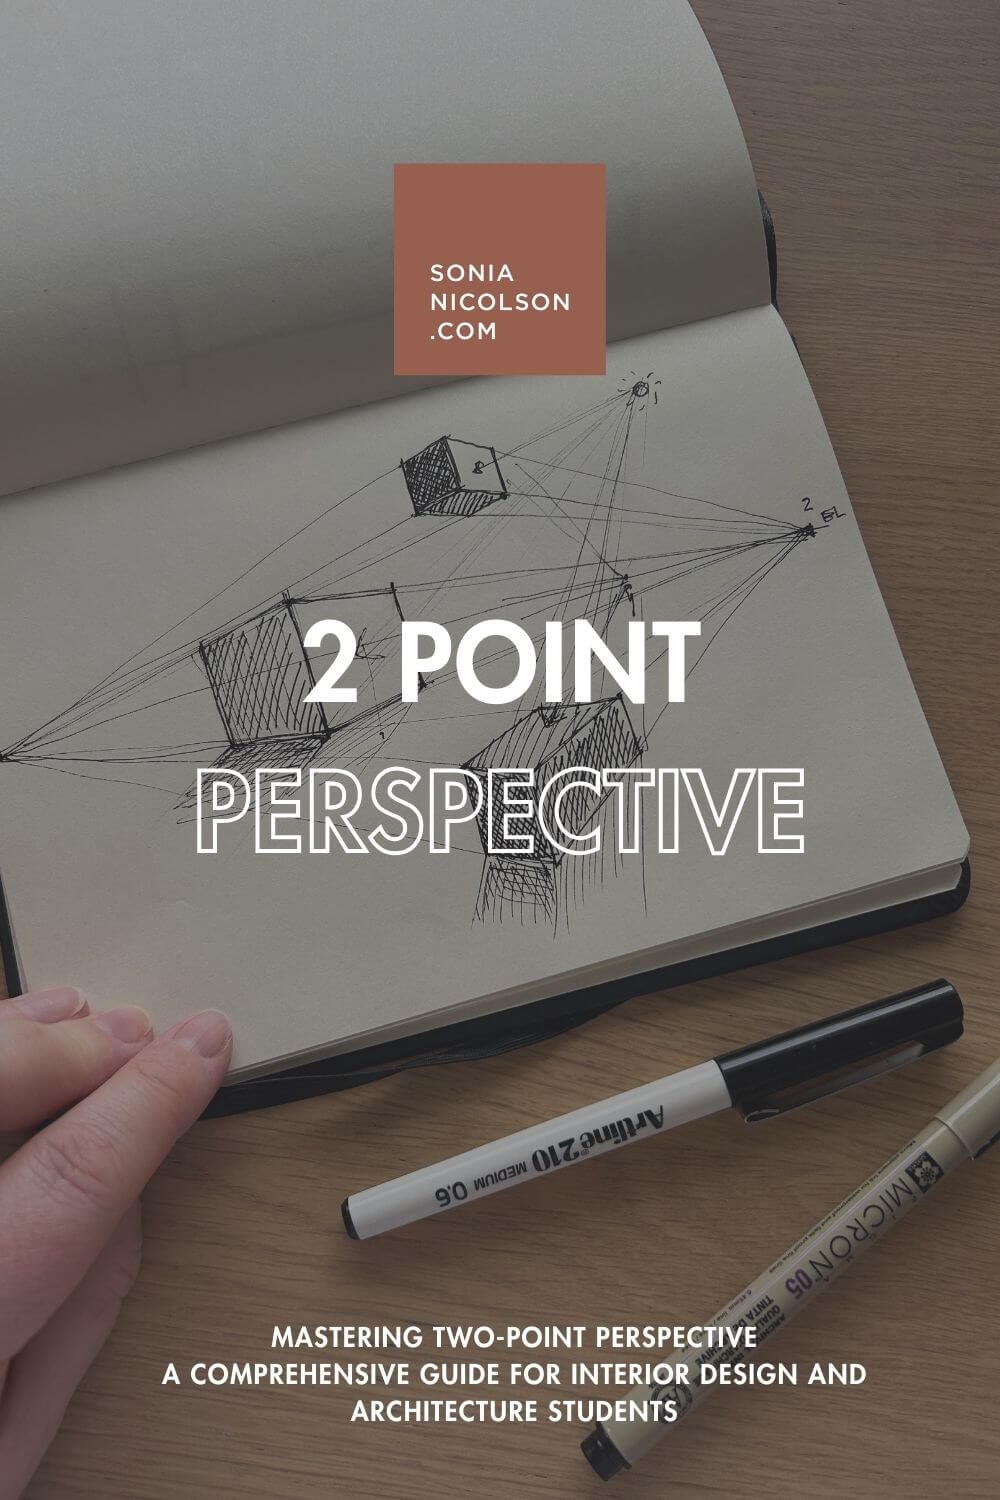
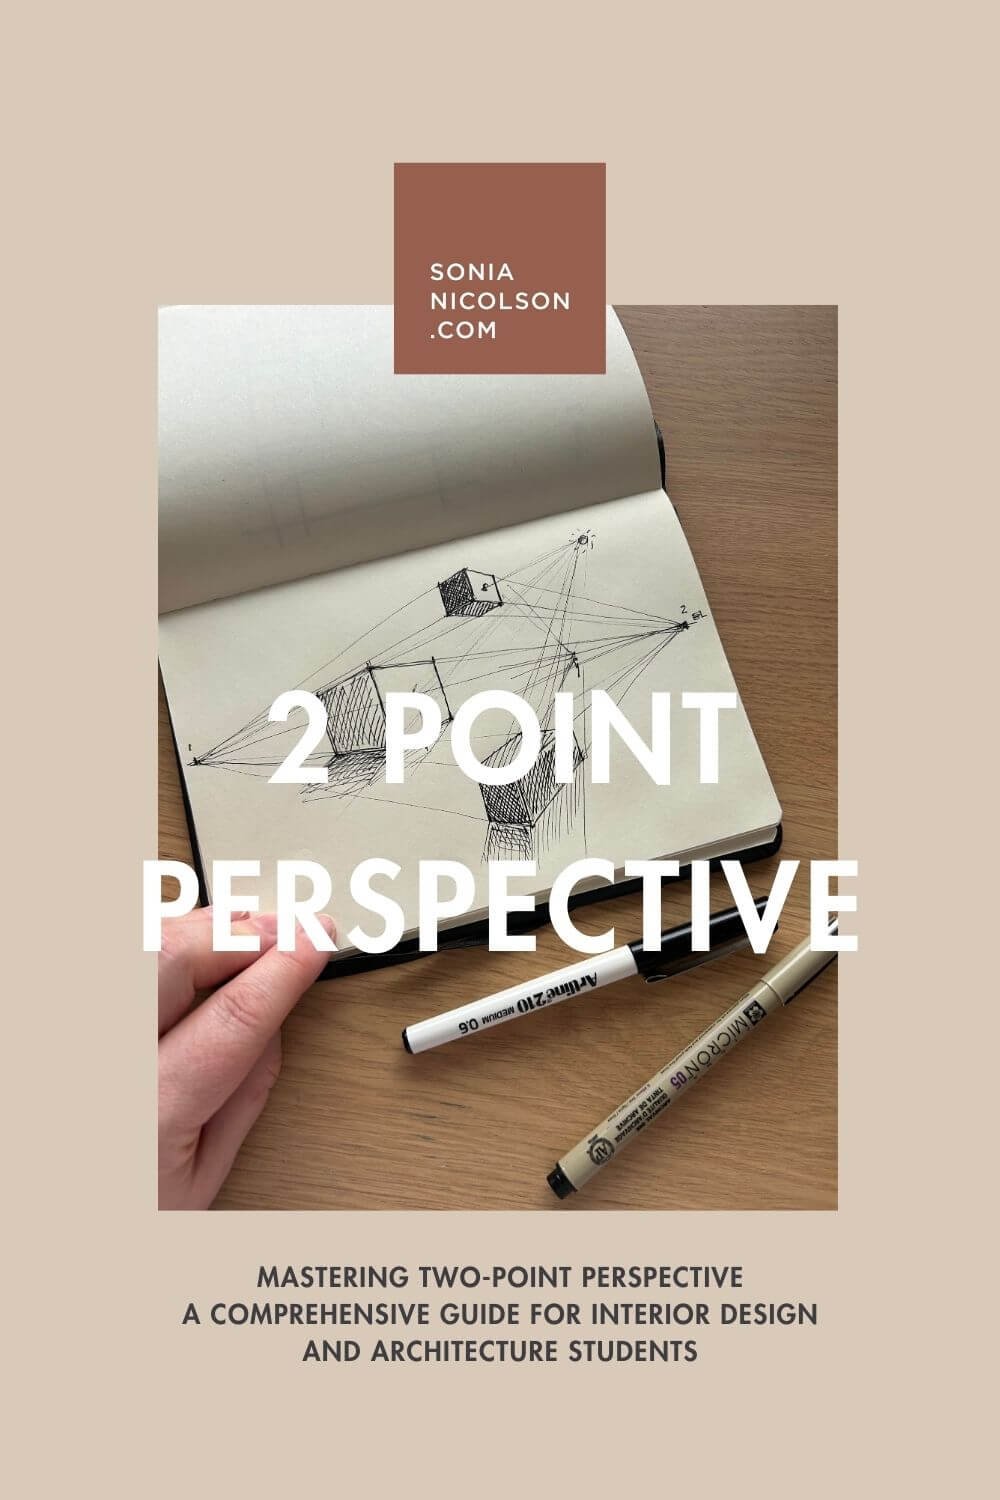
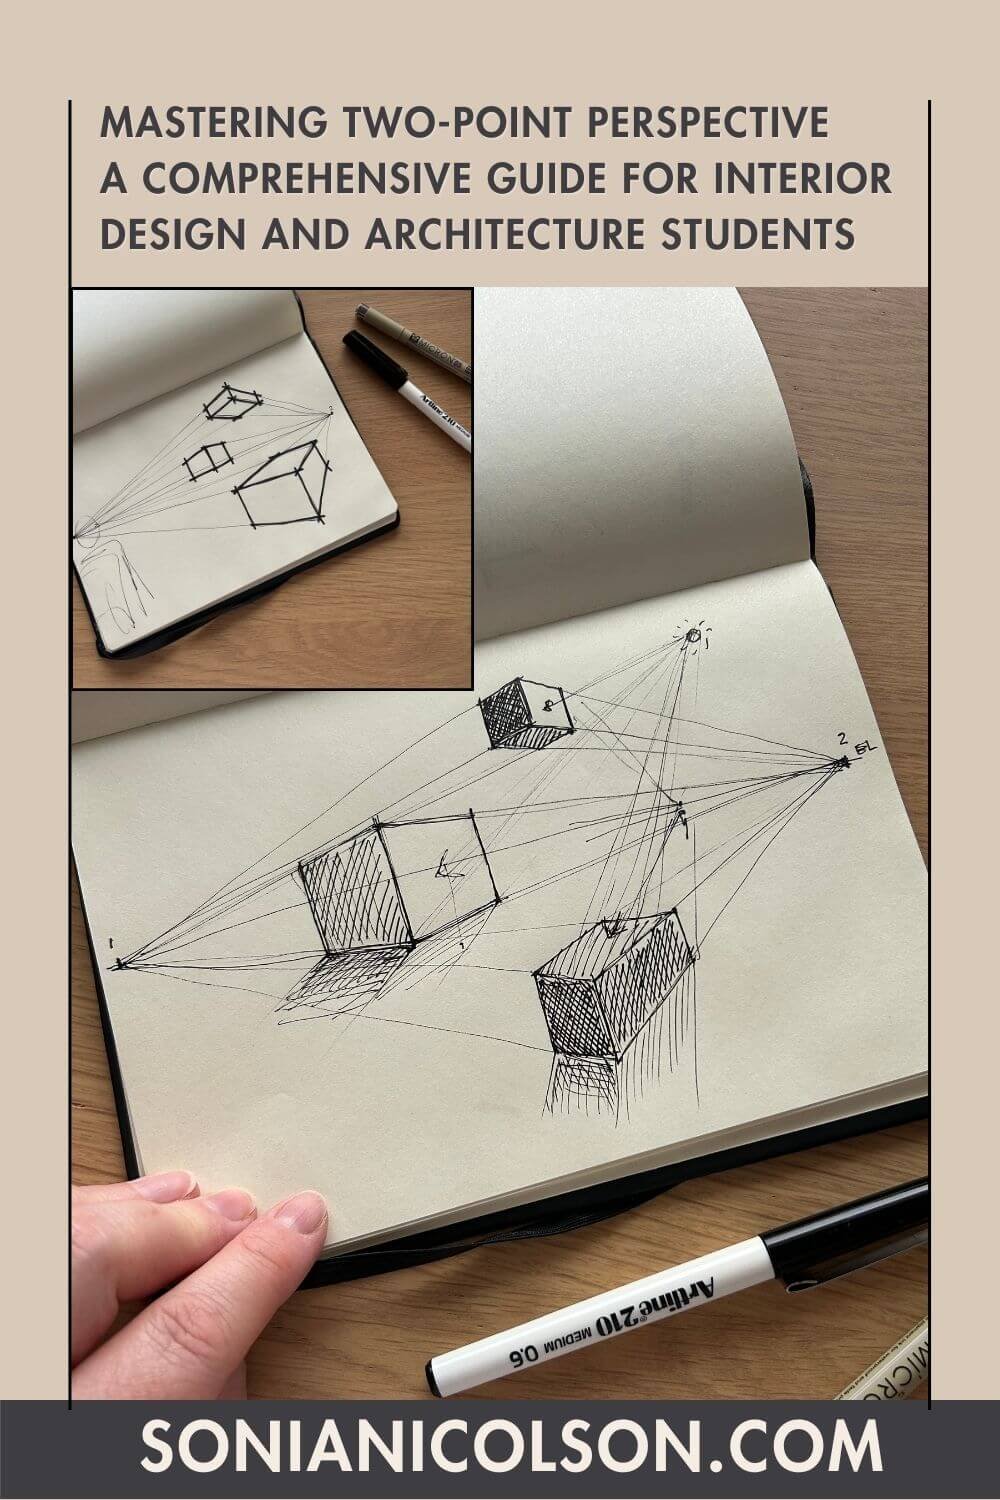
Mastering Two-Point Perspective
A Comprehensive Guide for Interior Design and Architecture Students
Are you an interior design or architecture student looking to enhance your drawing skills? Understanding how to draw a two-point perspective is essential for creating realistic interior design and architectural sketches. In this post we break down the process step-by-step, so you can learn how to confidently draw a two-point perspective and bring your designs to life.
Read ‘Mastering One-Point Perspective’ for an overview of why learning perspective is important.

How to Draw a Two-Point Interior Perspective:
Mastering a two-point perspective is a valuable skill for any interior design or architecture student. With practice and dedication you can create realistic perspective drawings that communicate your design ideas. Let’s get started.
1. Gather necessary materials: paper, ruler, pencil, pen or iPad and apple pen. Tape down your paper if needed.
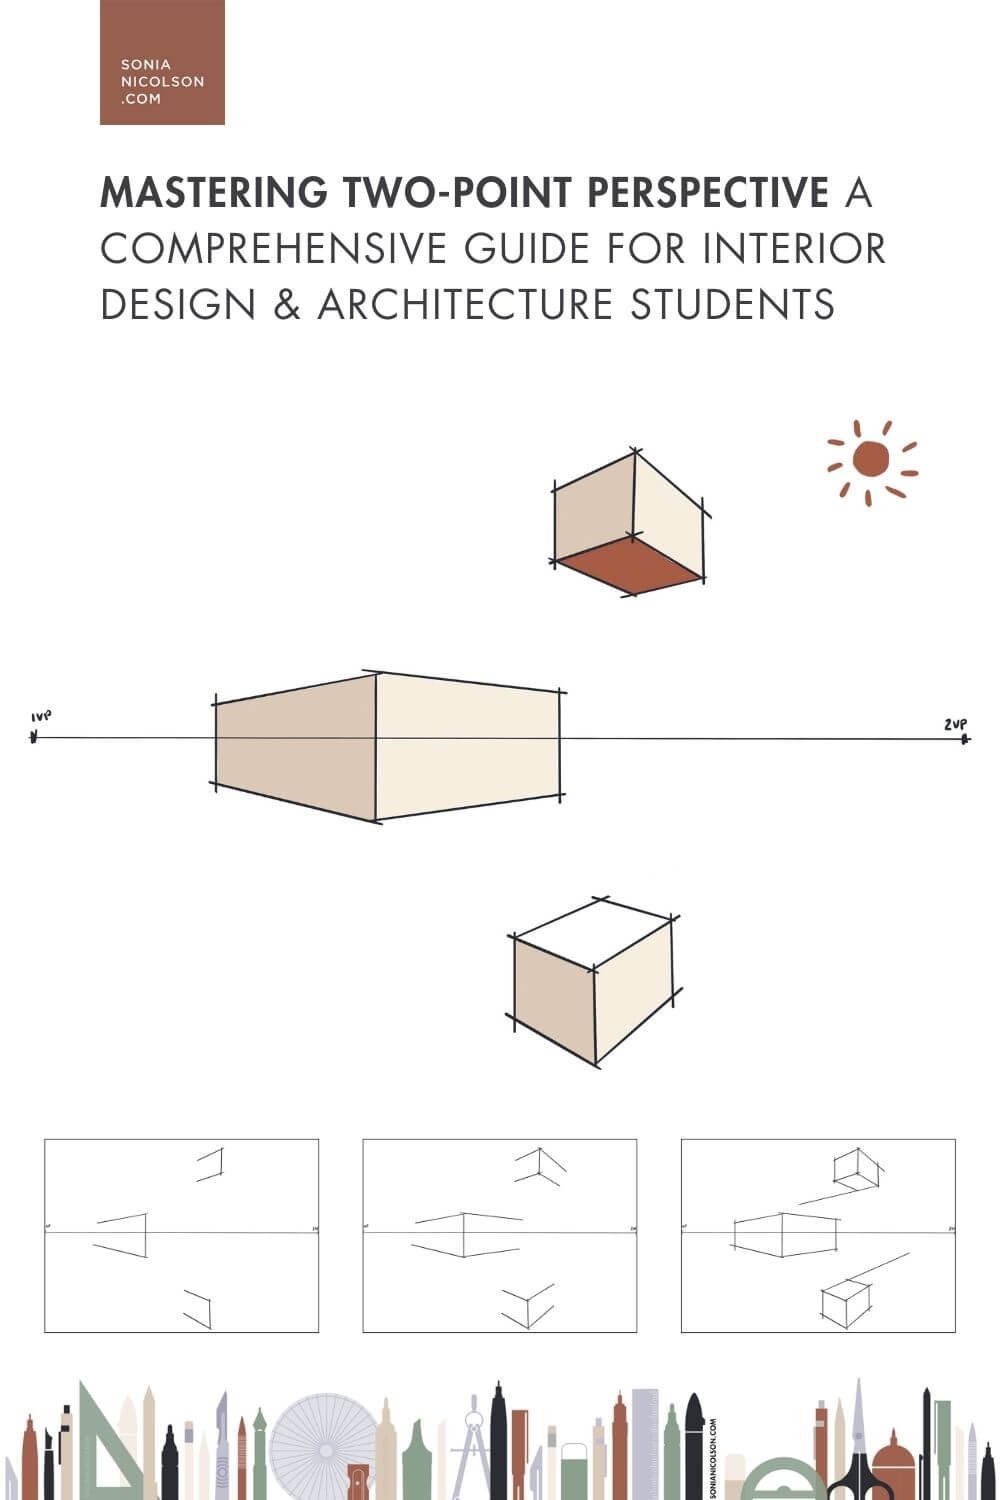
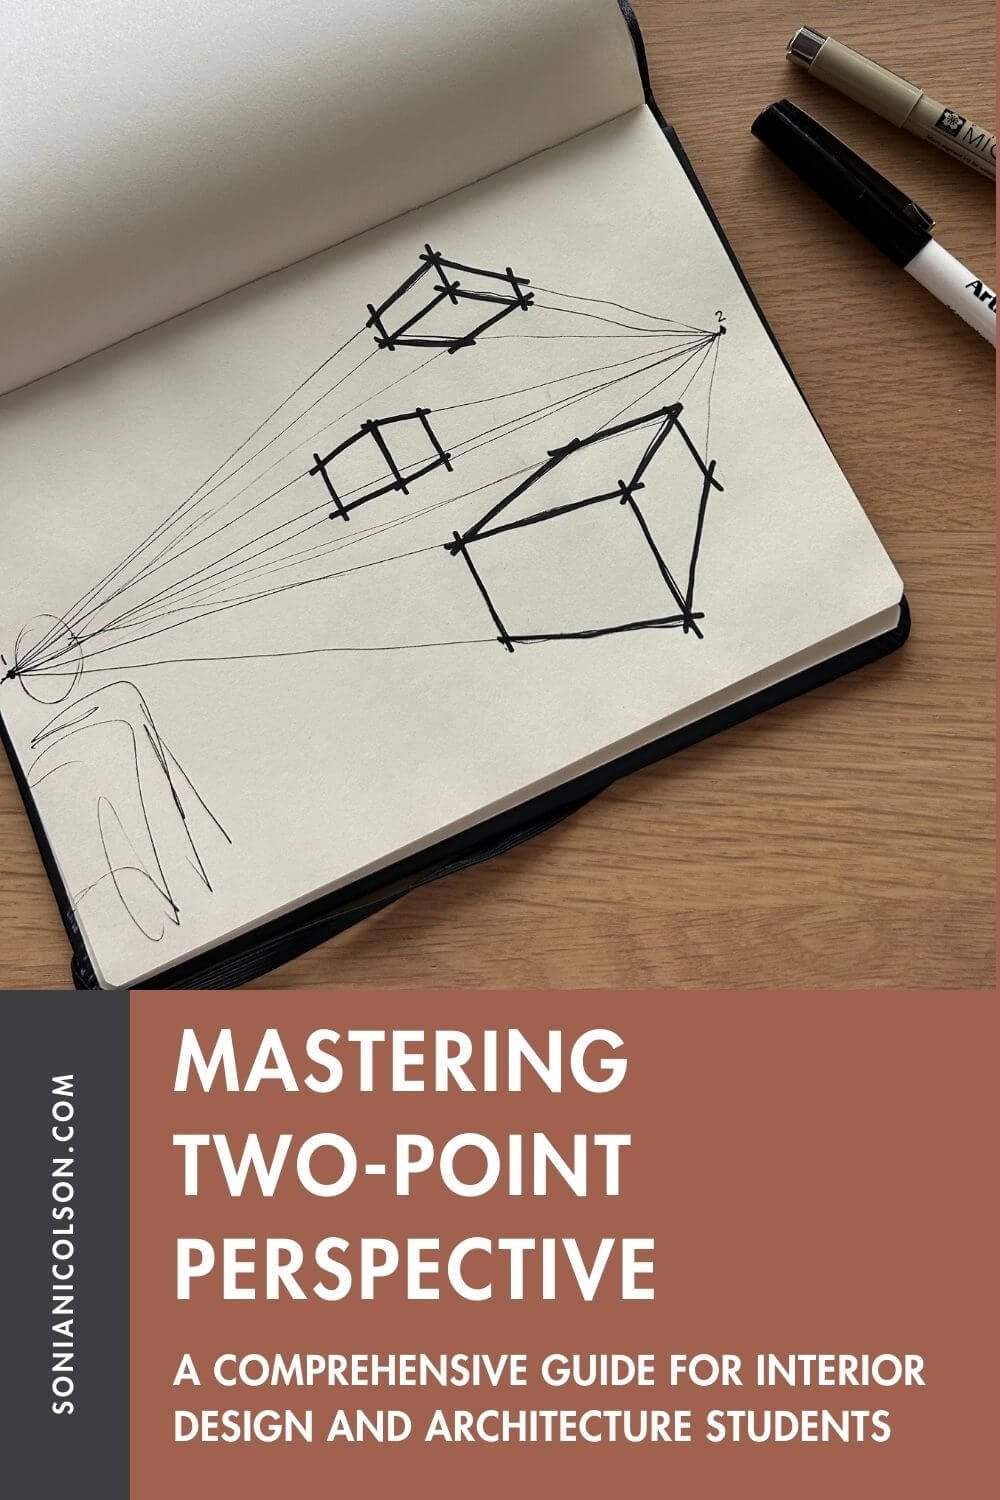
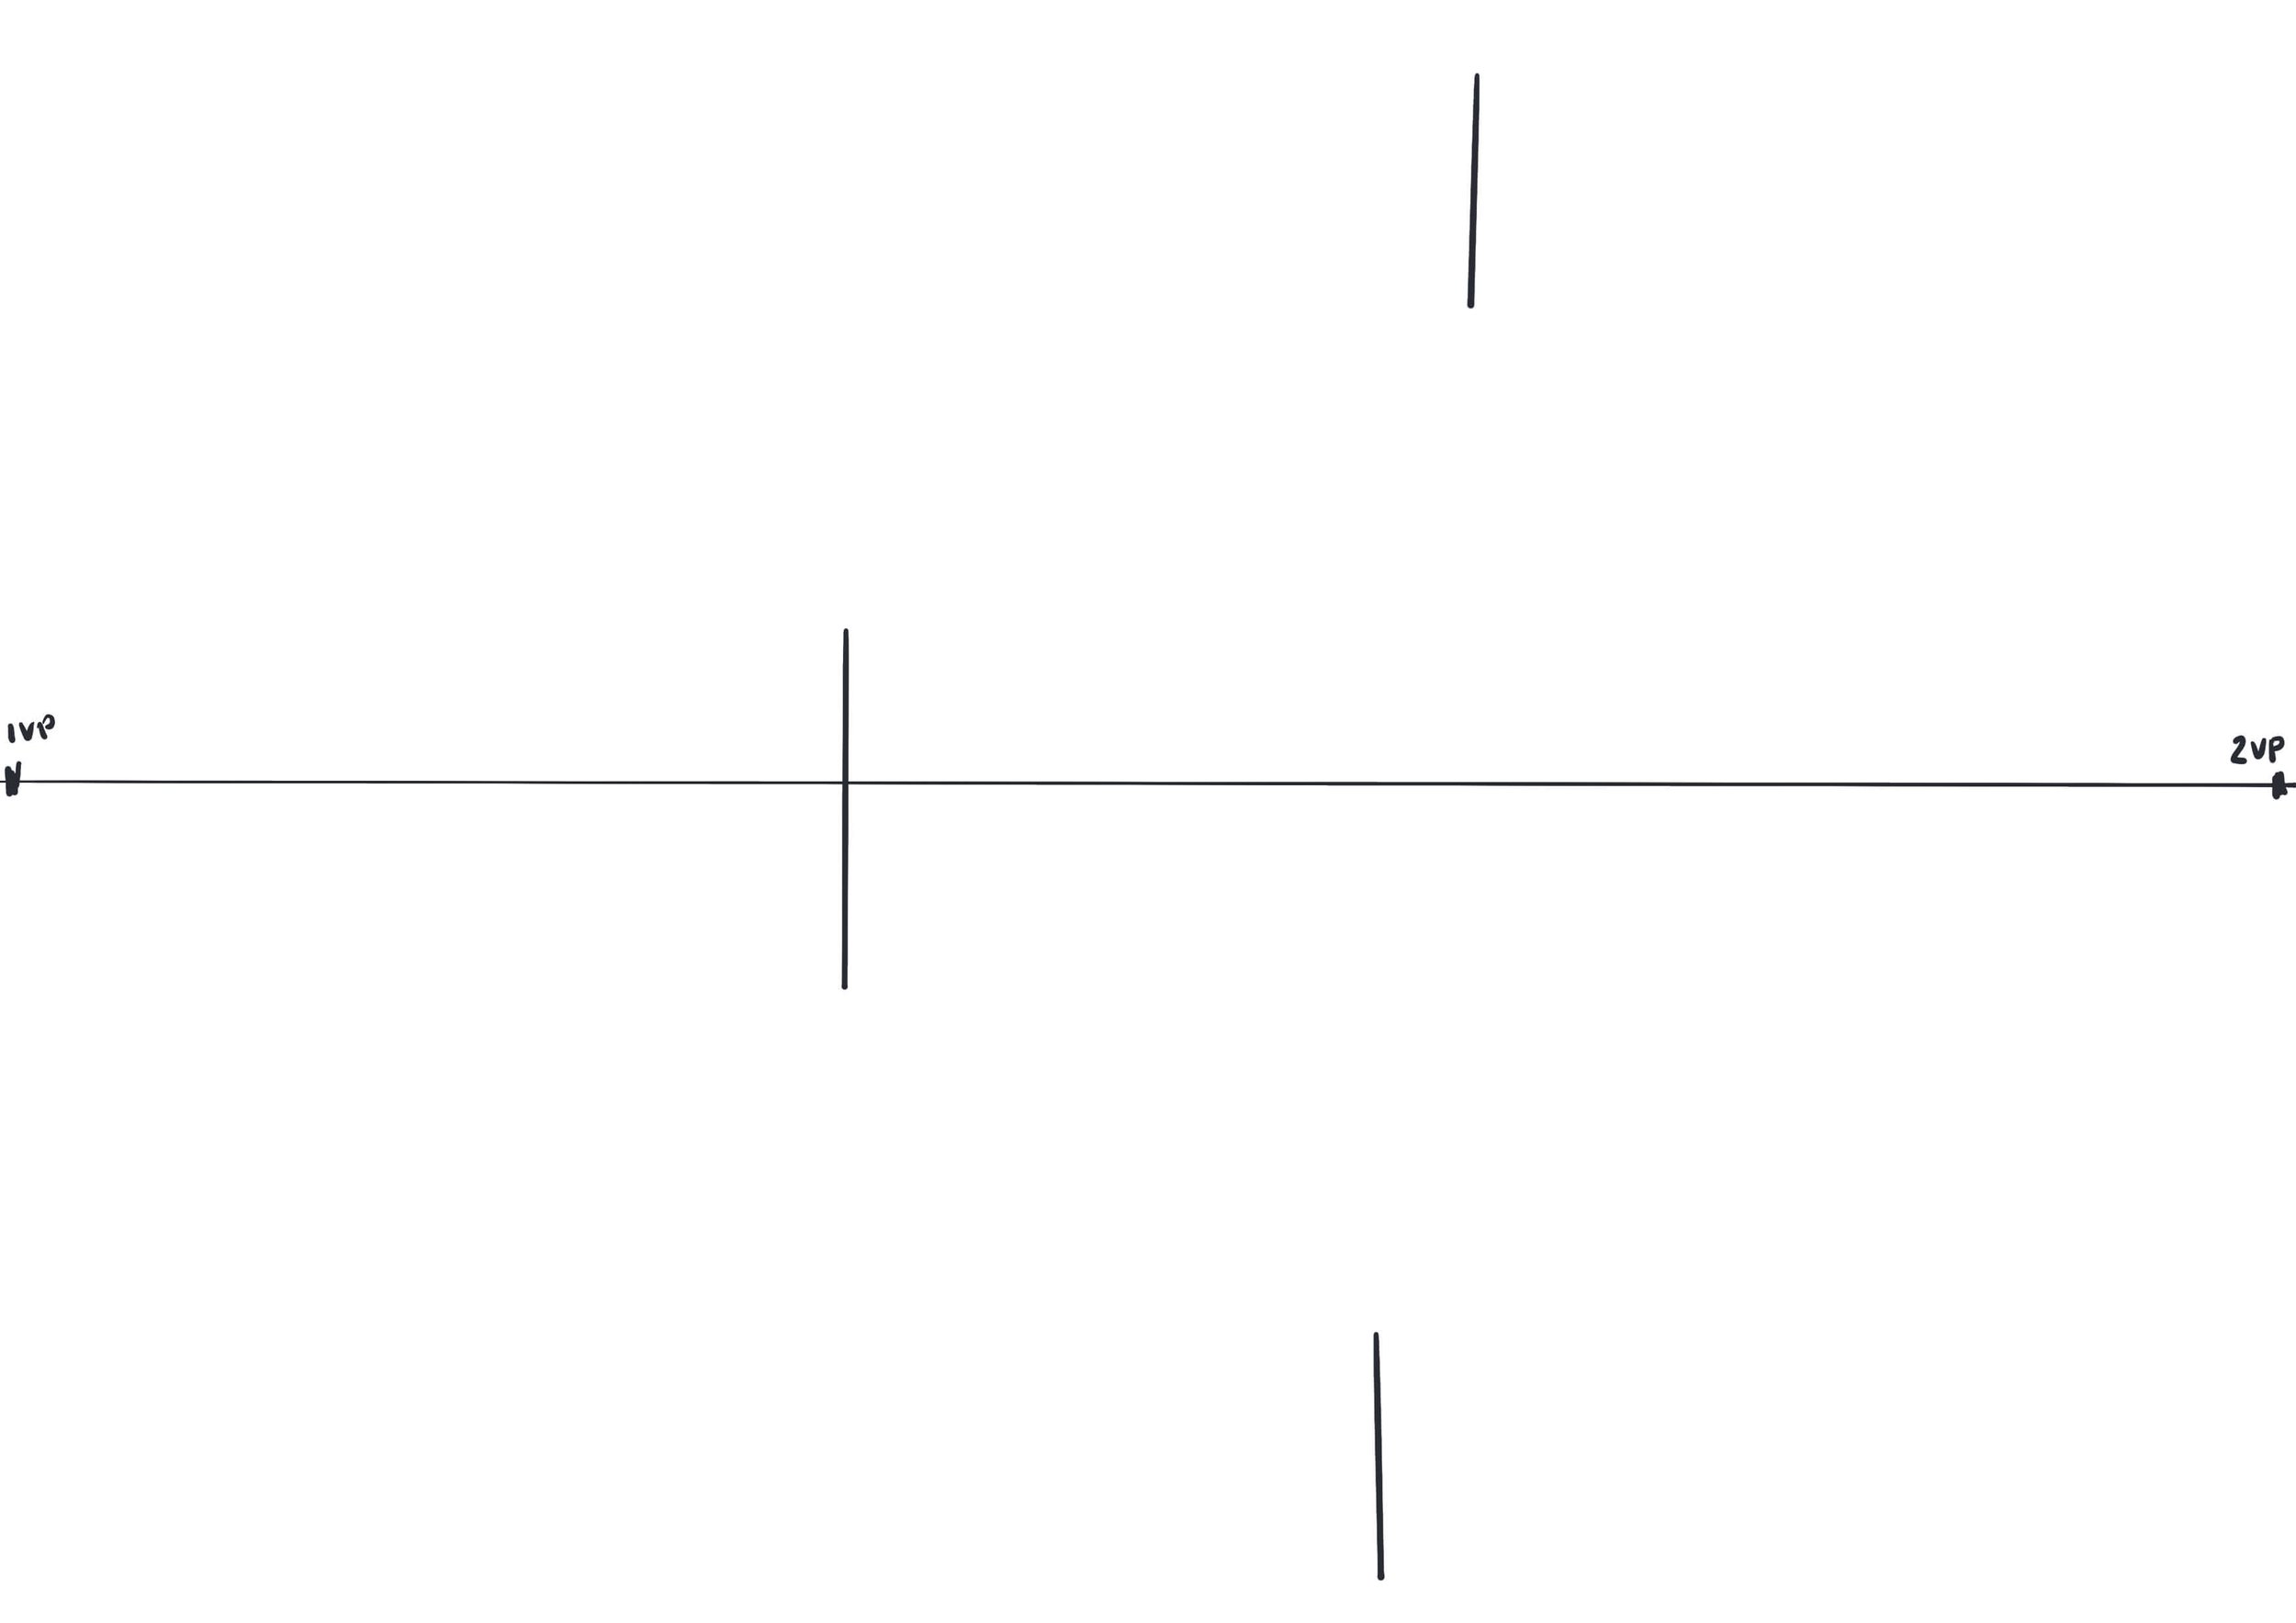
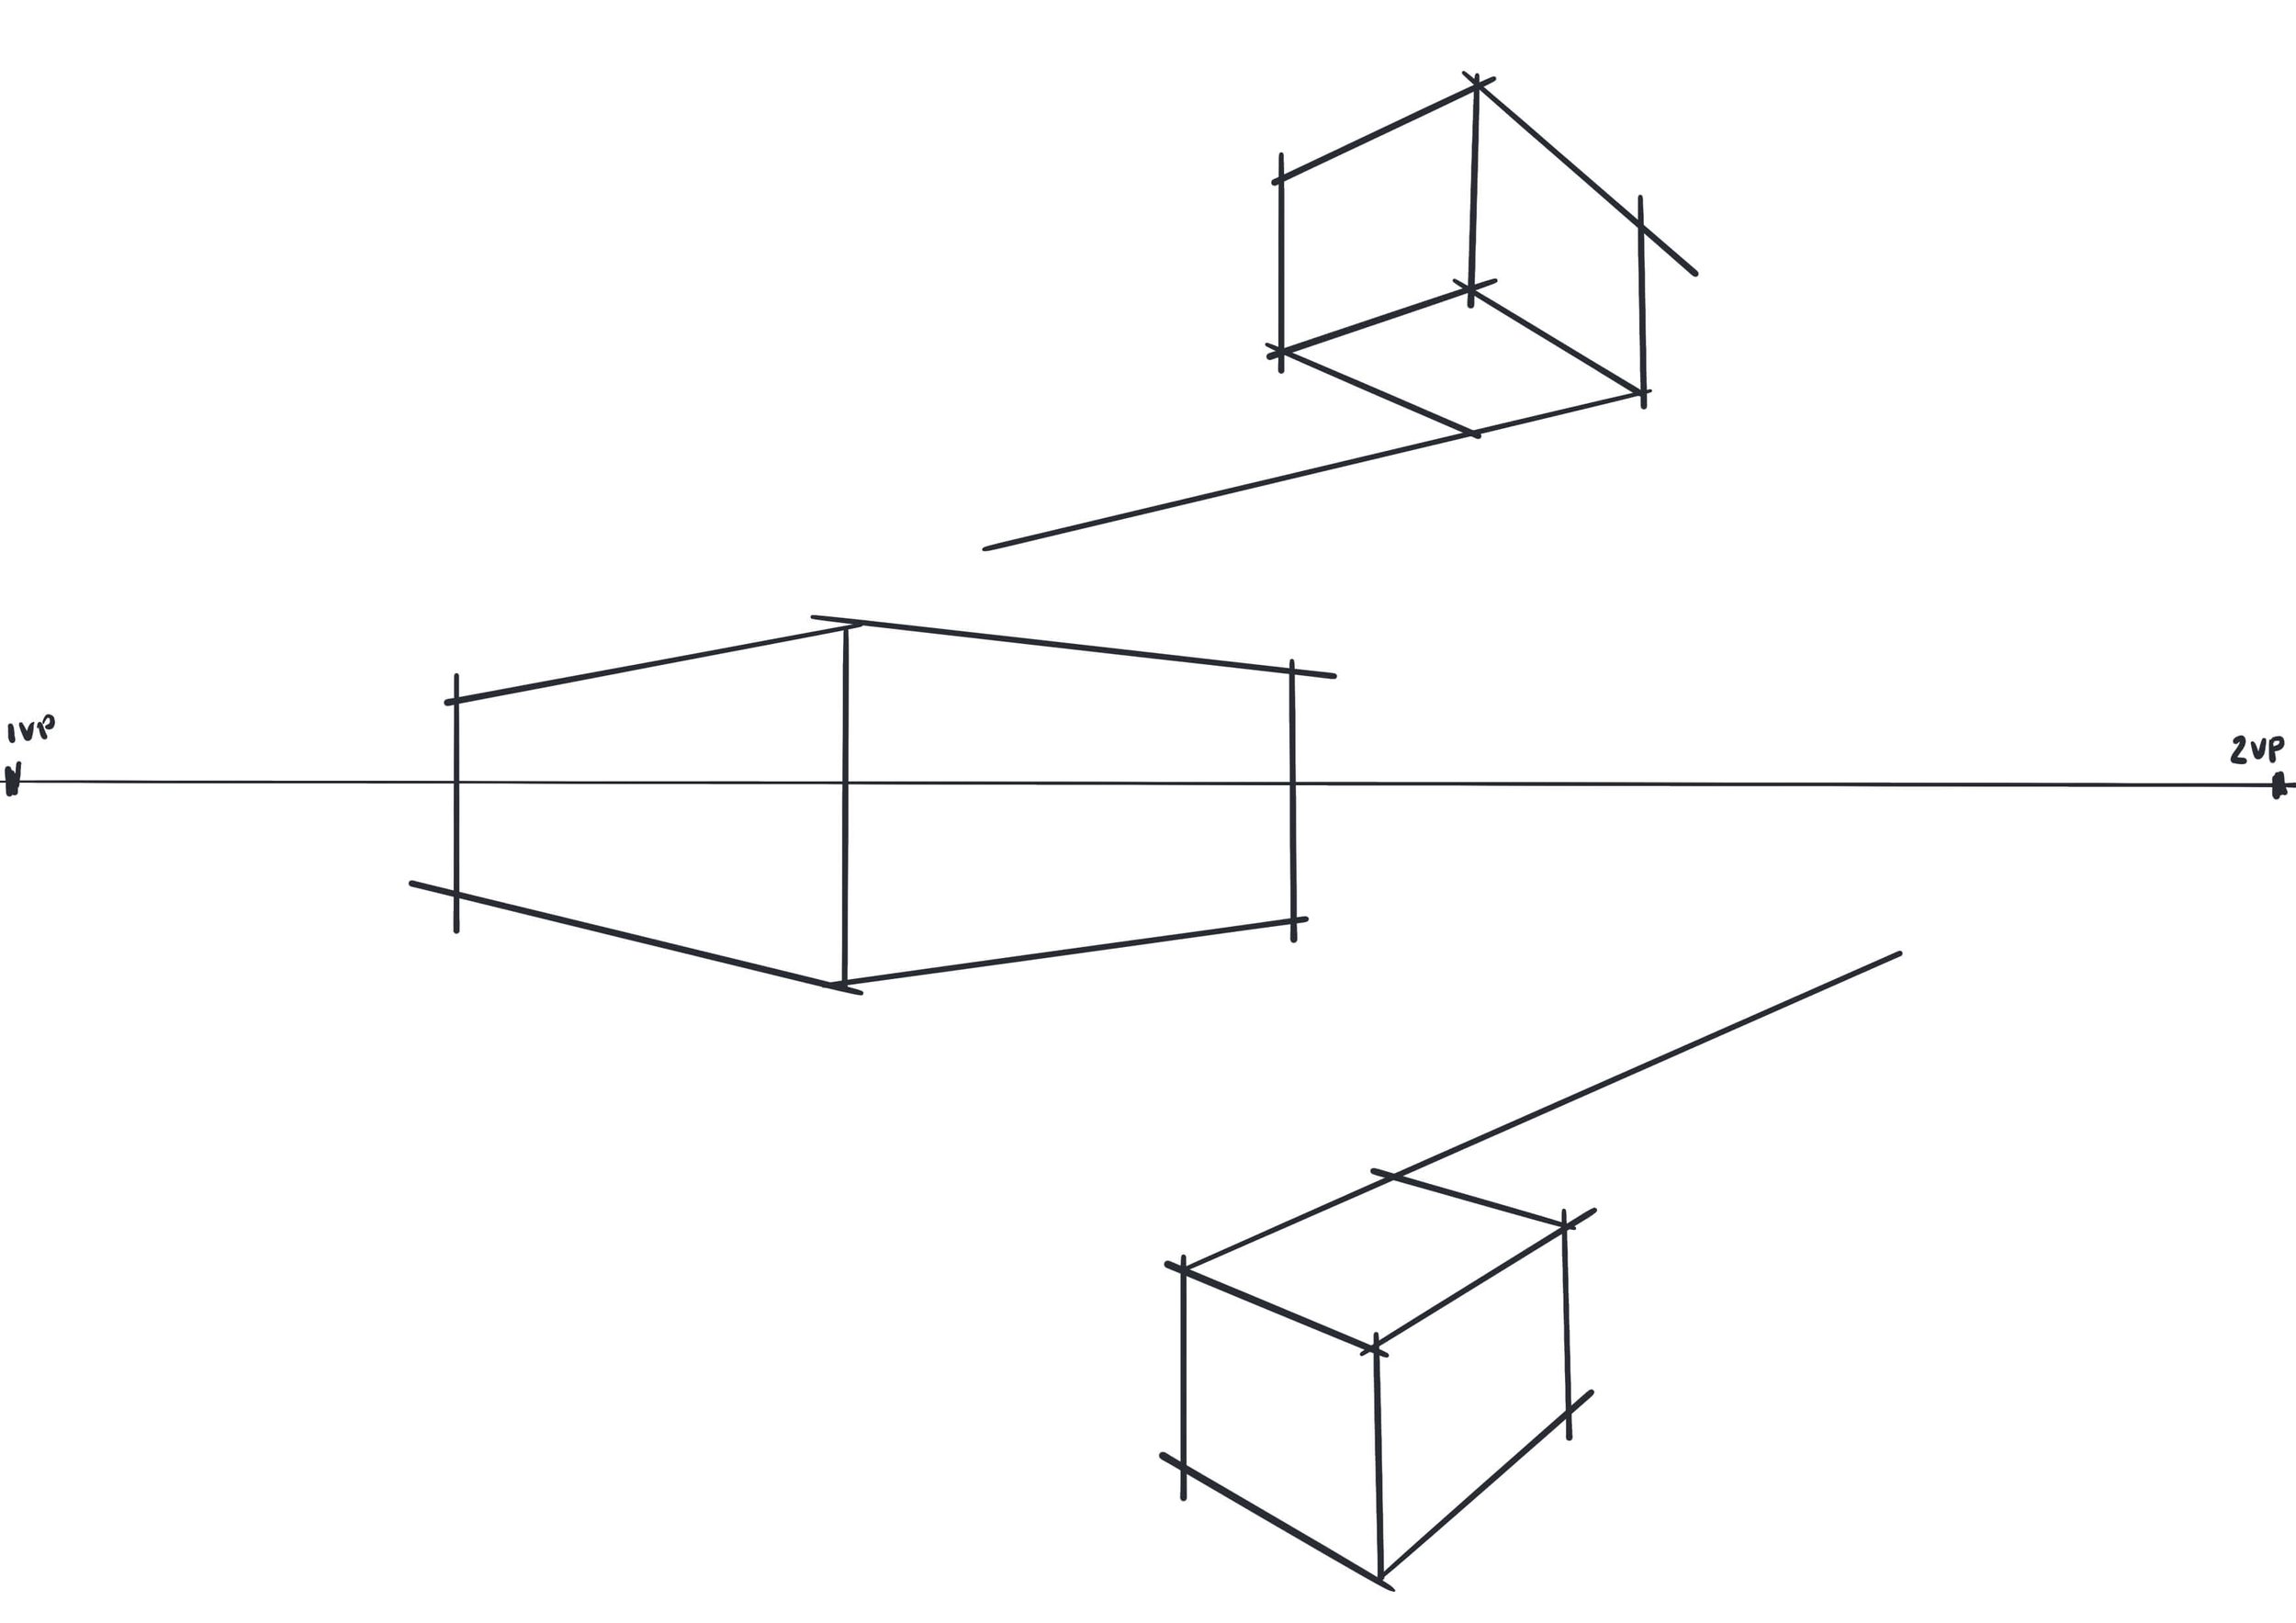
2. Establishing the horizon line and the two vanishing points (VP): The first line we draw is a horizon line, draw this in the centre of your paper going along it. Now mark your two vanishing points at the left and right-hand side at the end of the horizon (eye level) line.

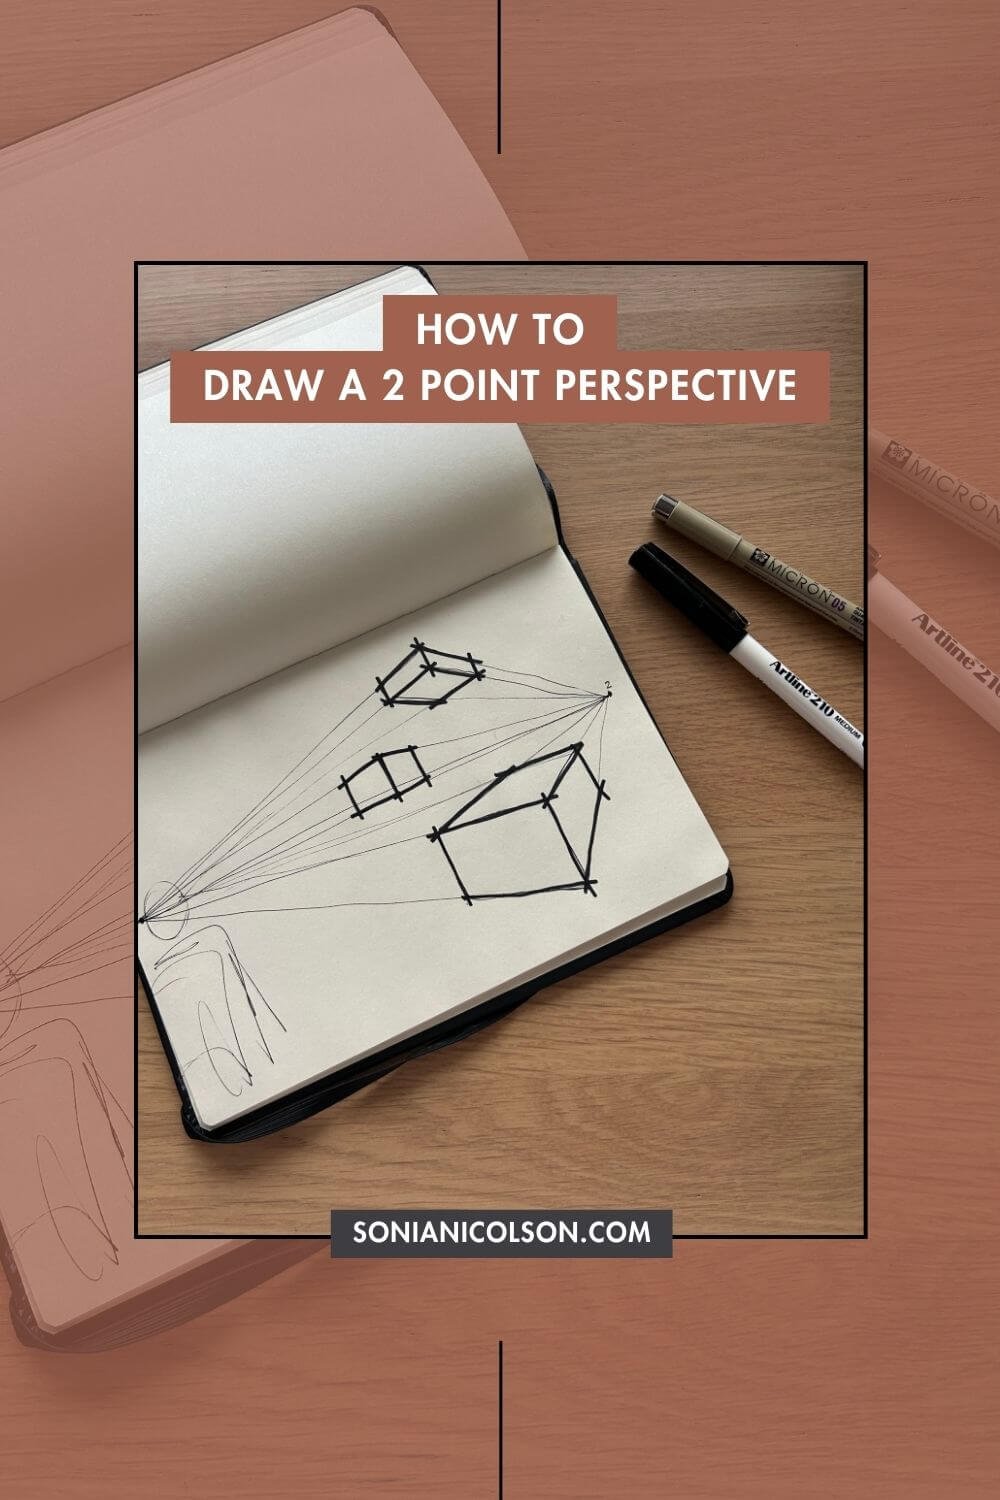
3. Sketch the basic shapes: Draw the basic shapes of the elements in your scene - buildings, walls, furniture, etc (use light lines initially as you will likely draw a lot of lines and it can get confusing). For the example, we are just drawing some blocks so draw the corner which is turned closest to you.

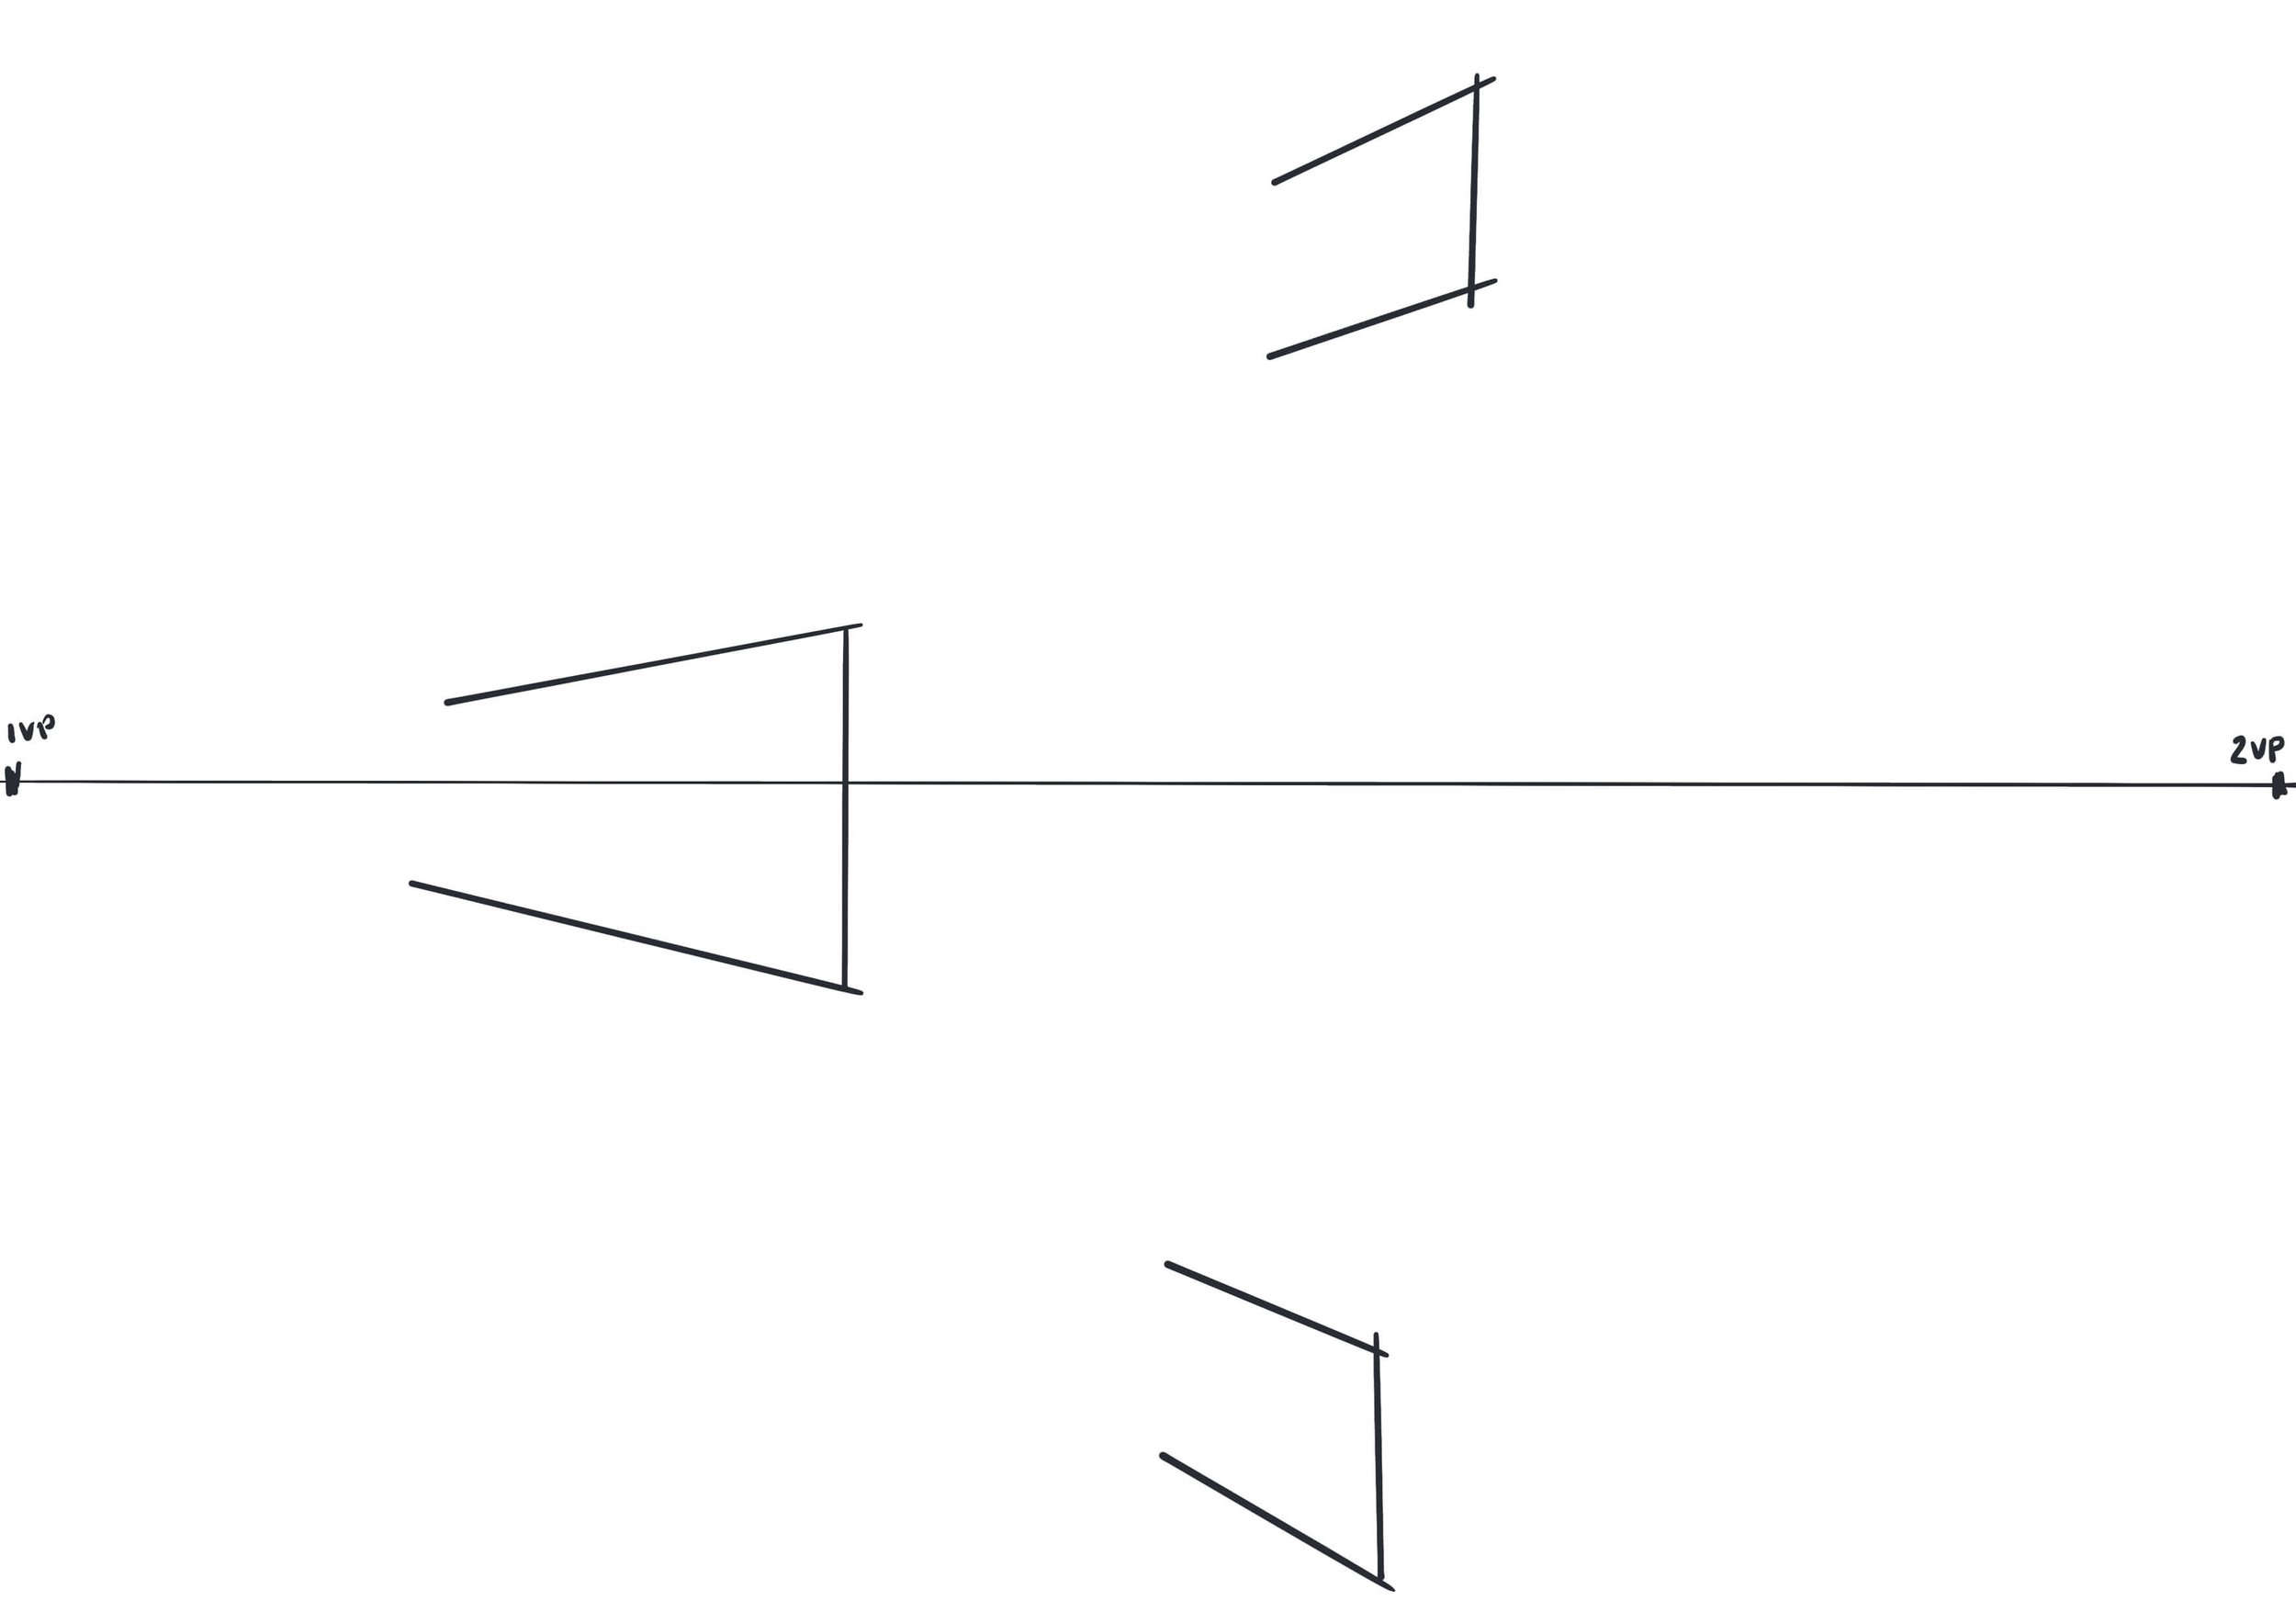
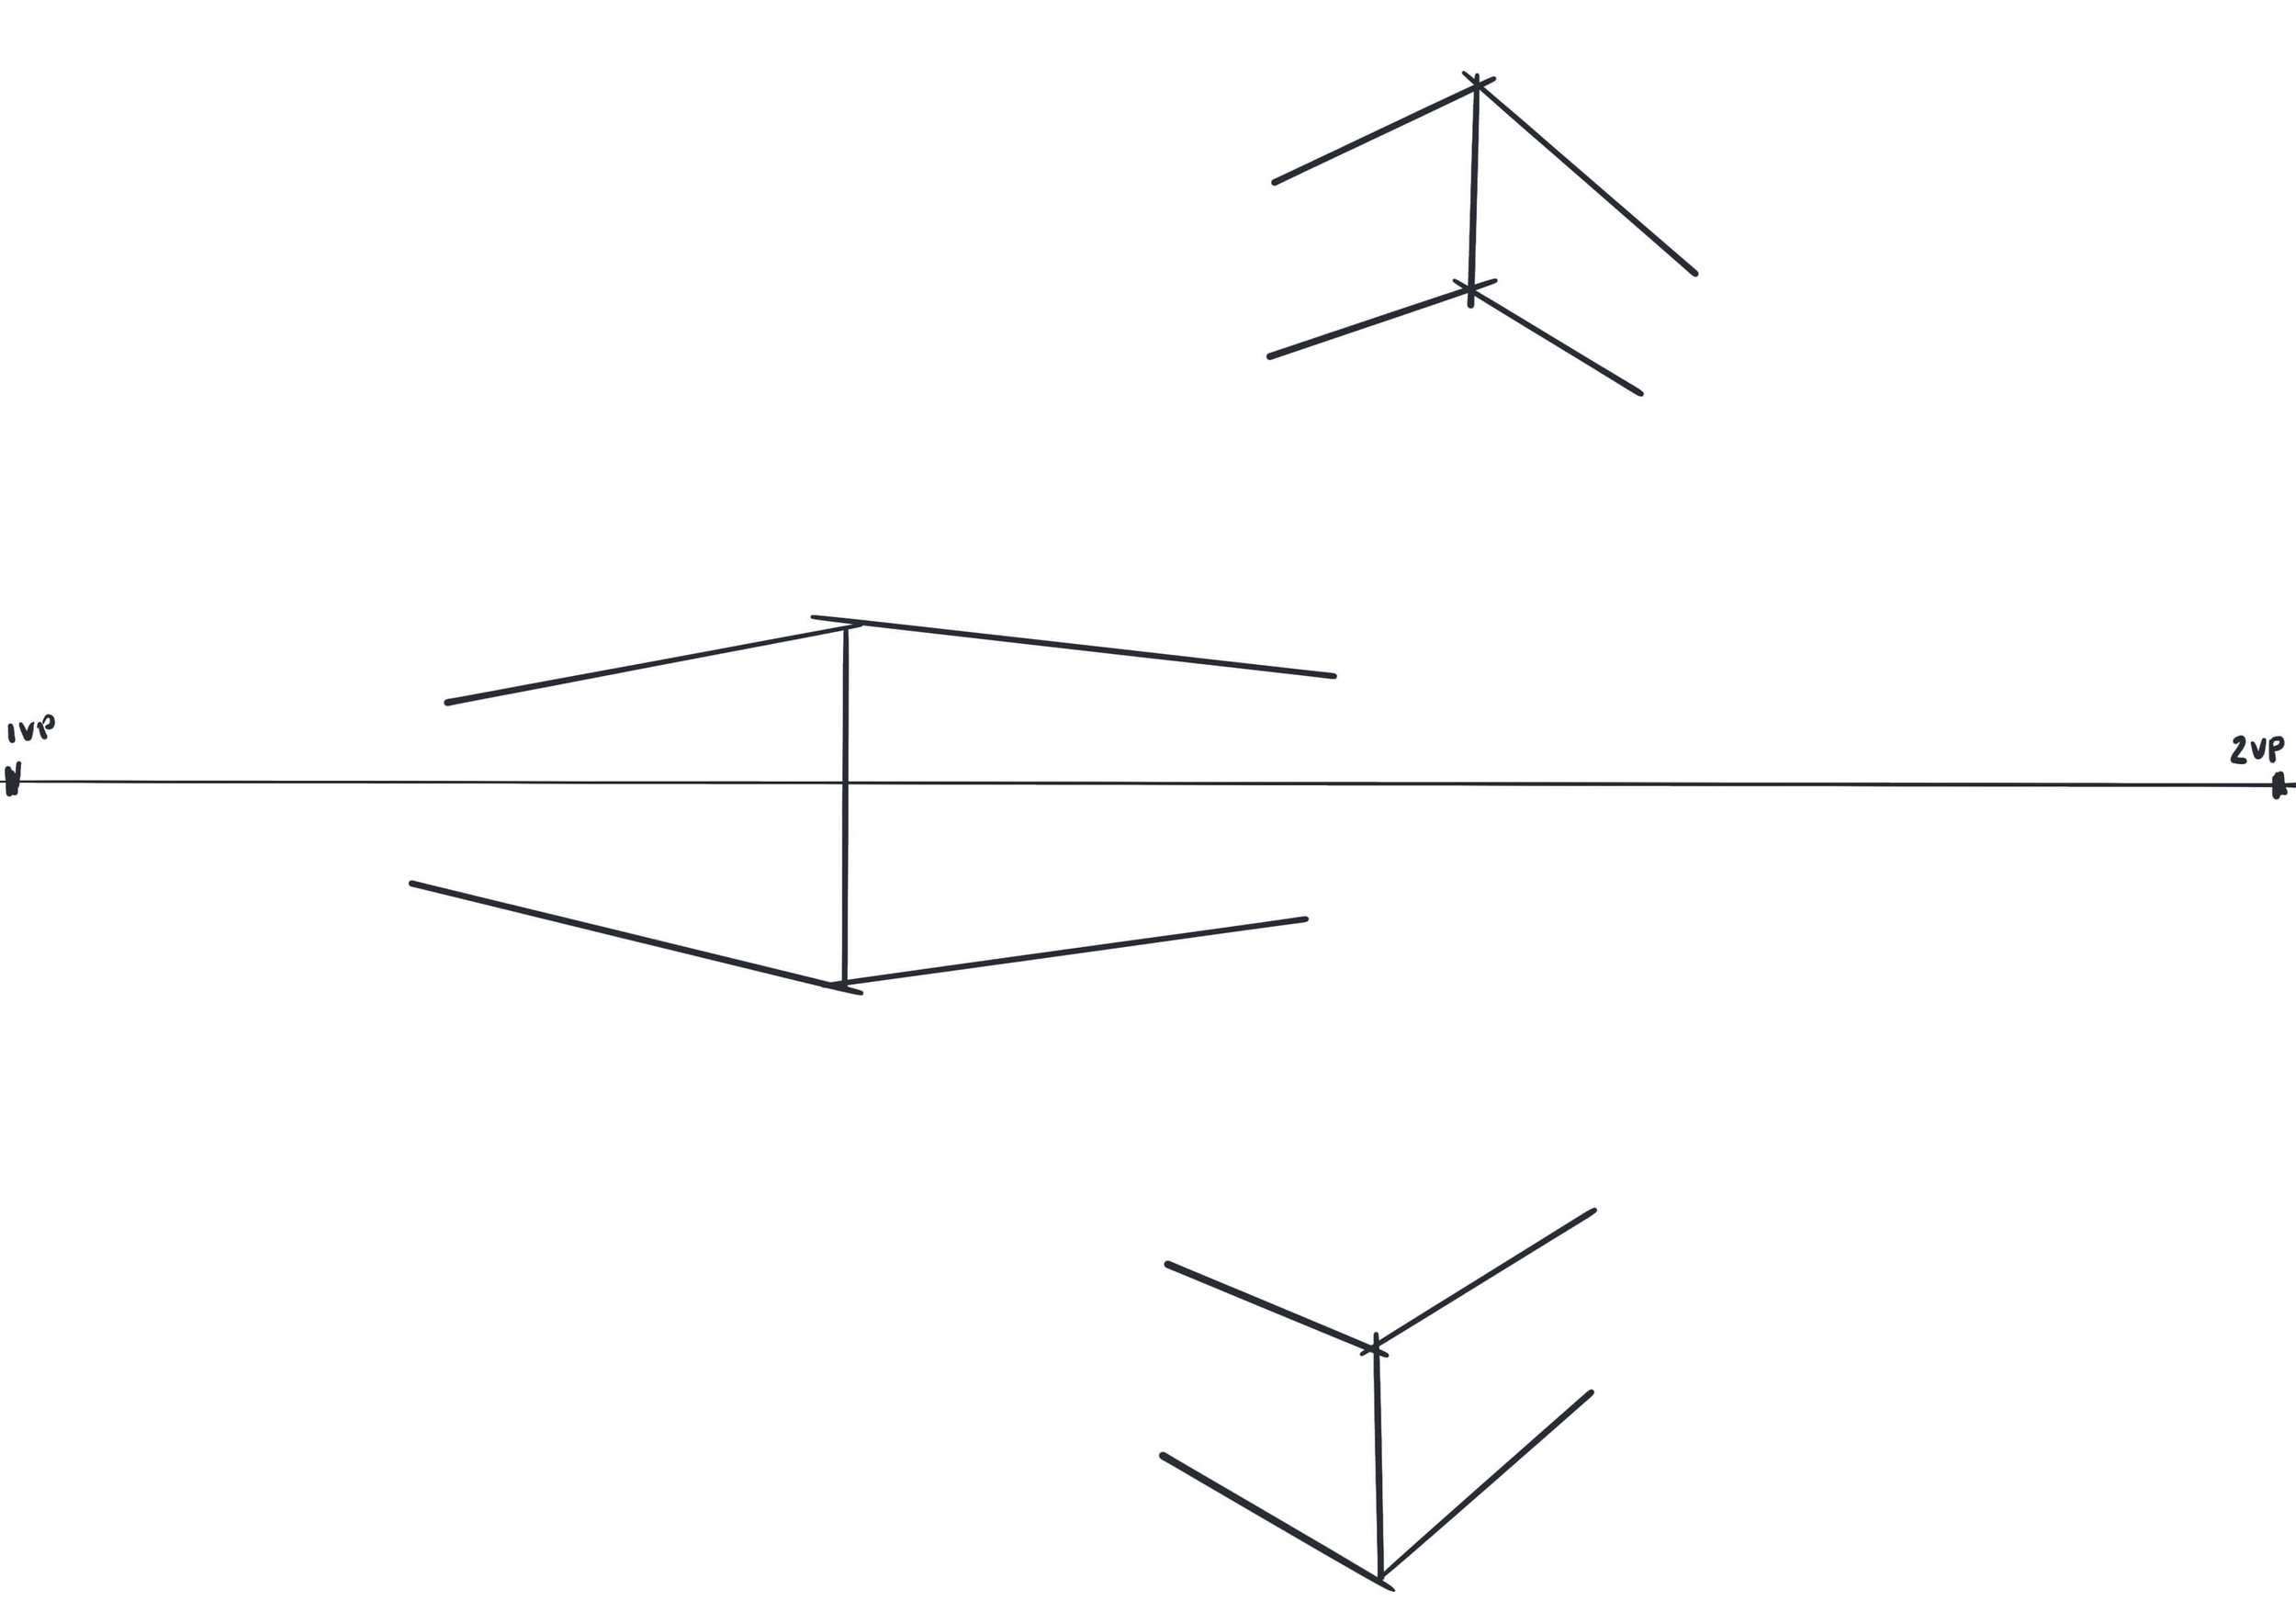
4. Connect the shapes/lines to your vanishing points: Line up your ruler with the 1VP (left) and draw lines from the top of the corner of the box back to 1VP, and the same for the bottom of the box. This will form the left side of the box. Do the same but draw the lines back to 2VP to create the right side of the box. Now draw a vertical line (the back left corner of the box) to the left side of your boxes to give them a thickness (the left side of the box) and then do the same on the right-hand side - the boxes can be as long or short as you like, experiment with this. Close the cube by drawing in the top or bottom of the box. These lines go to the opposite VPs so the right side goes to 1VP and the left to 2VP.
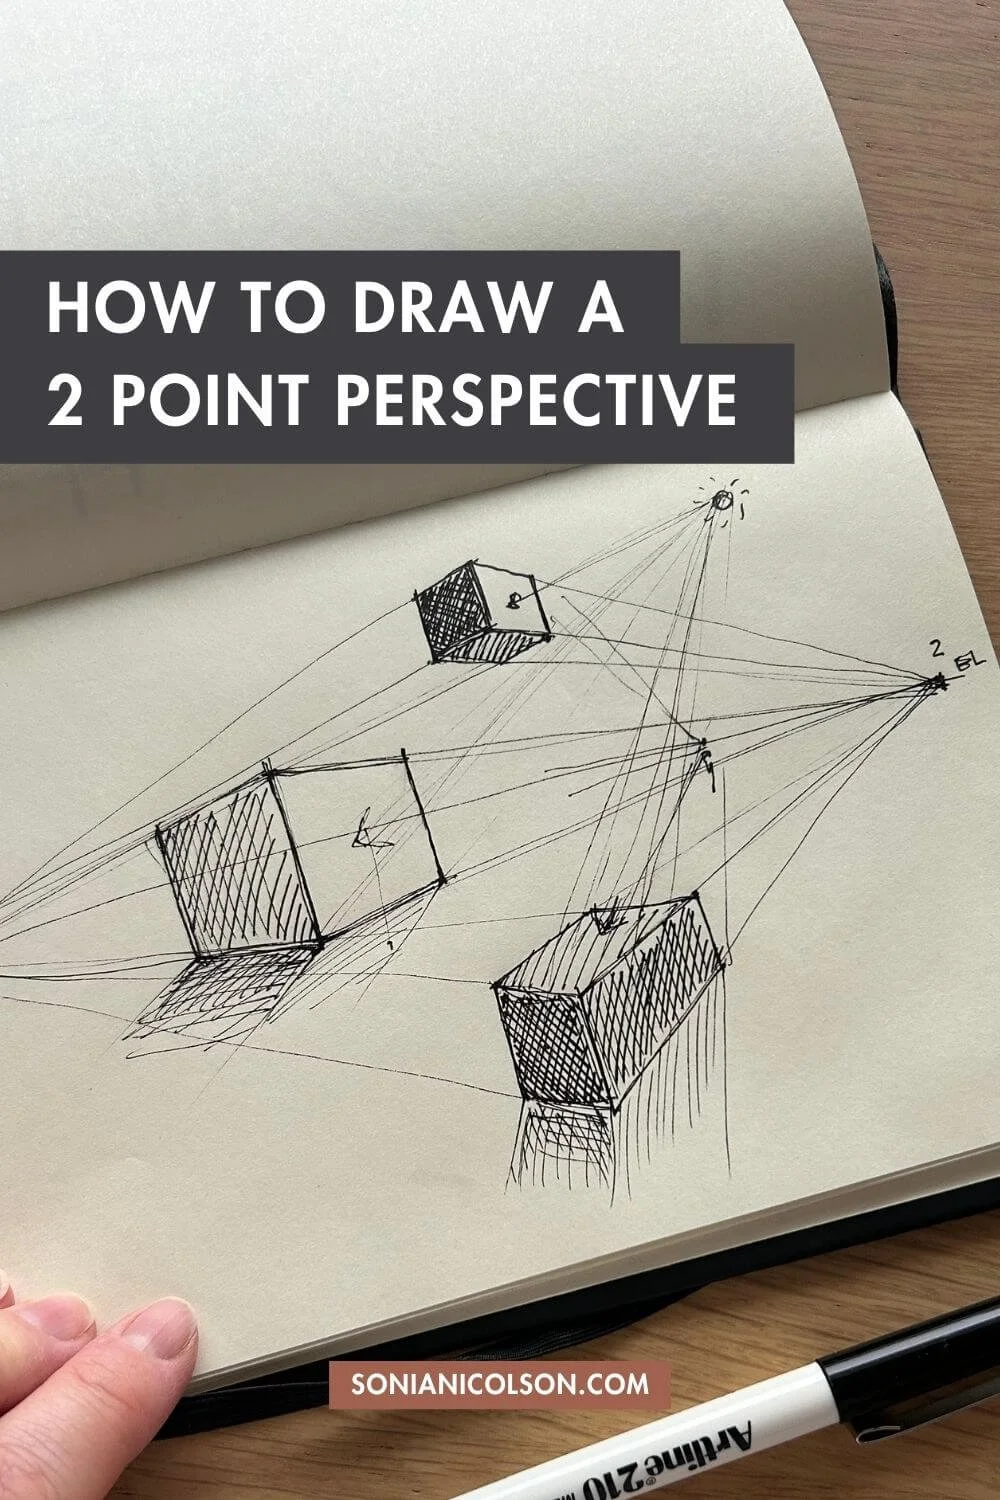
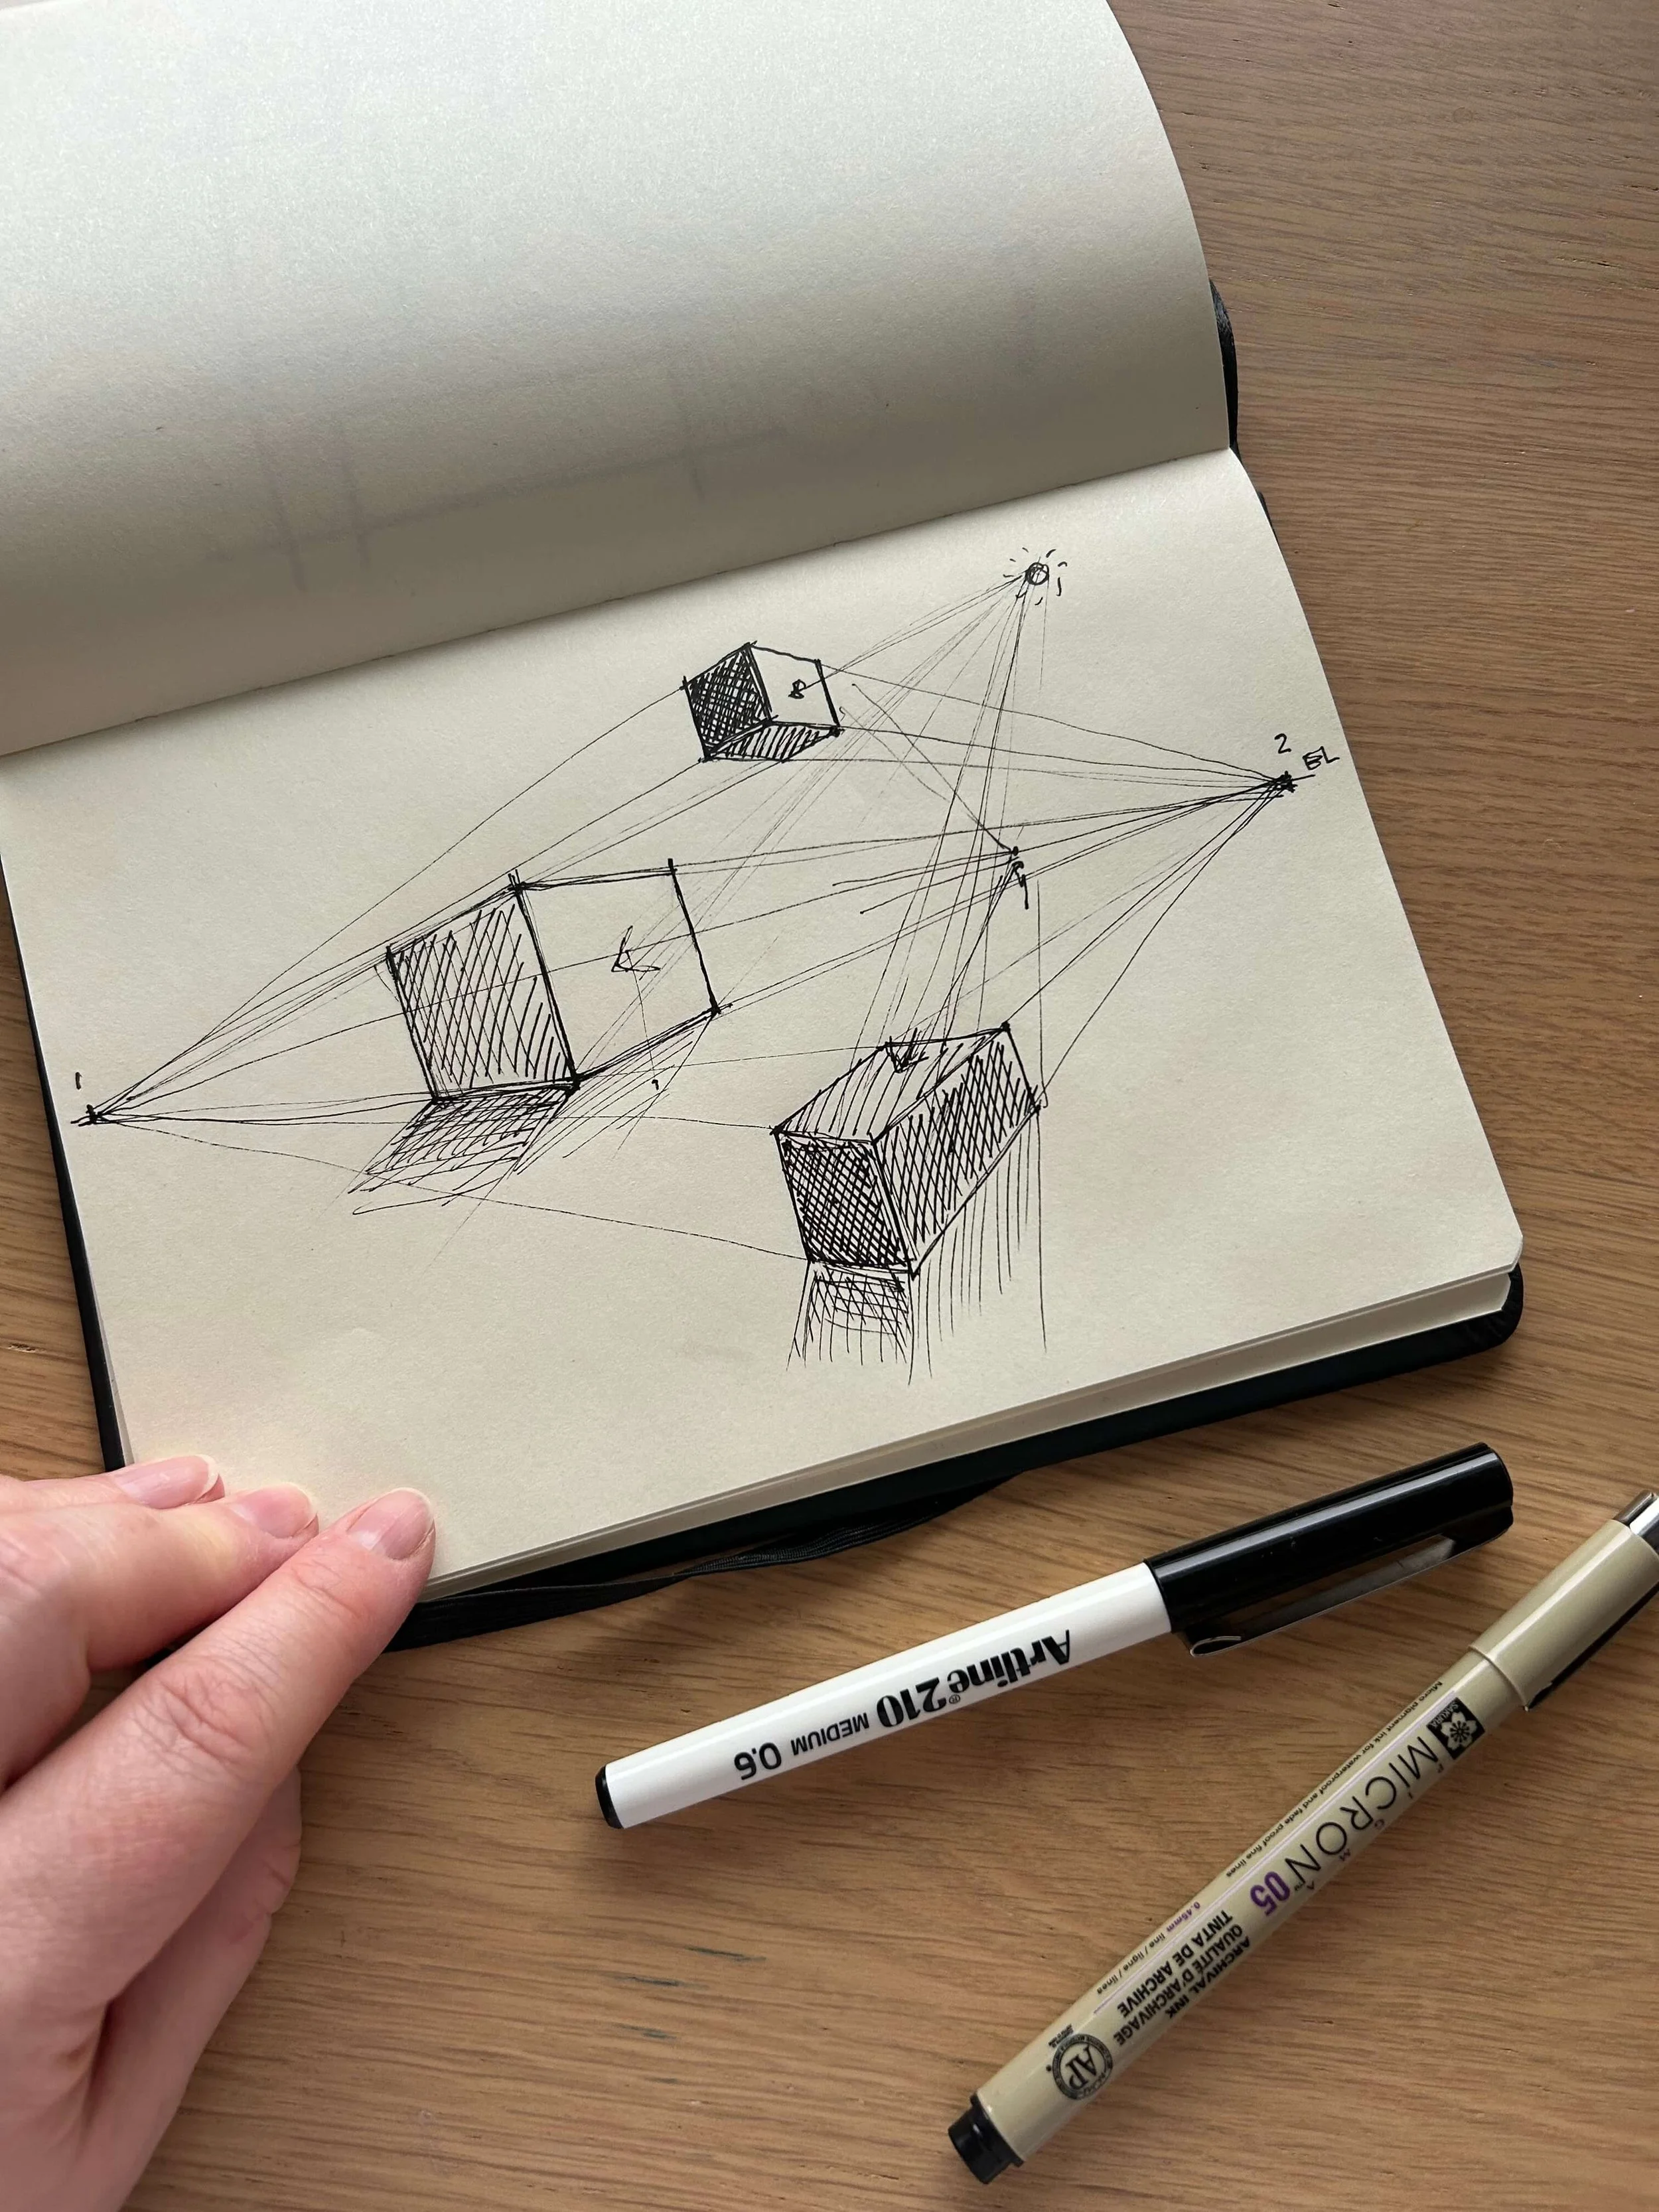
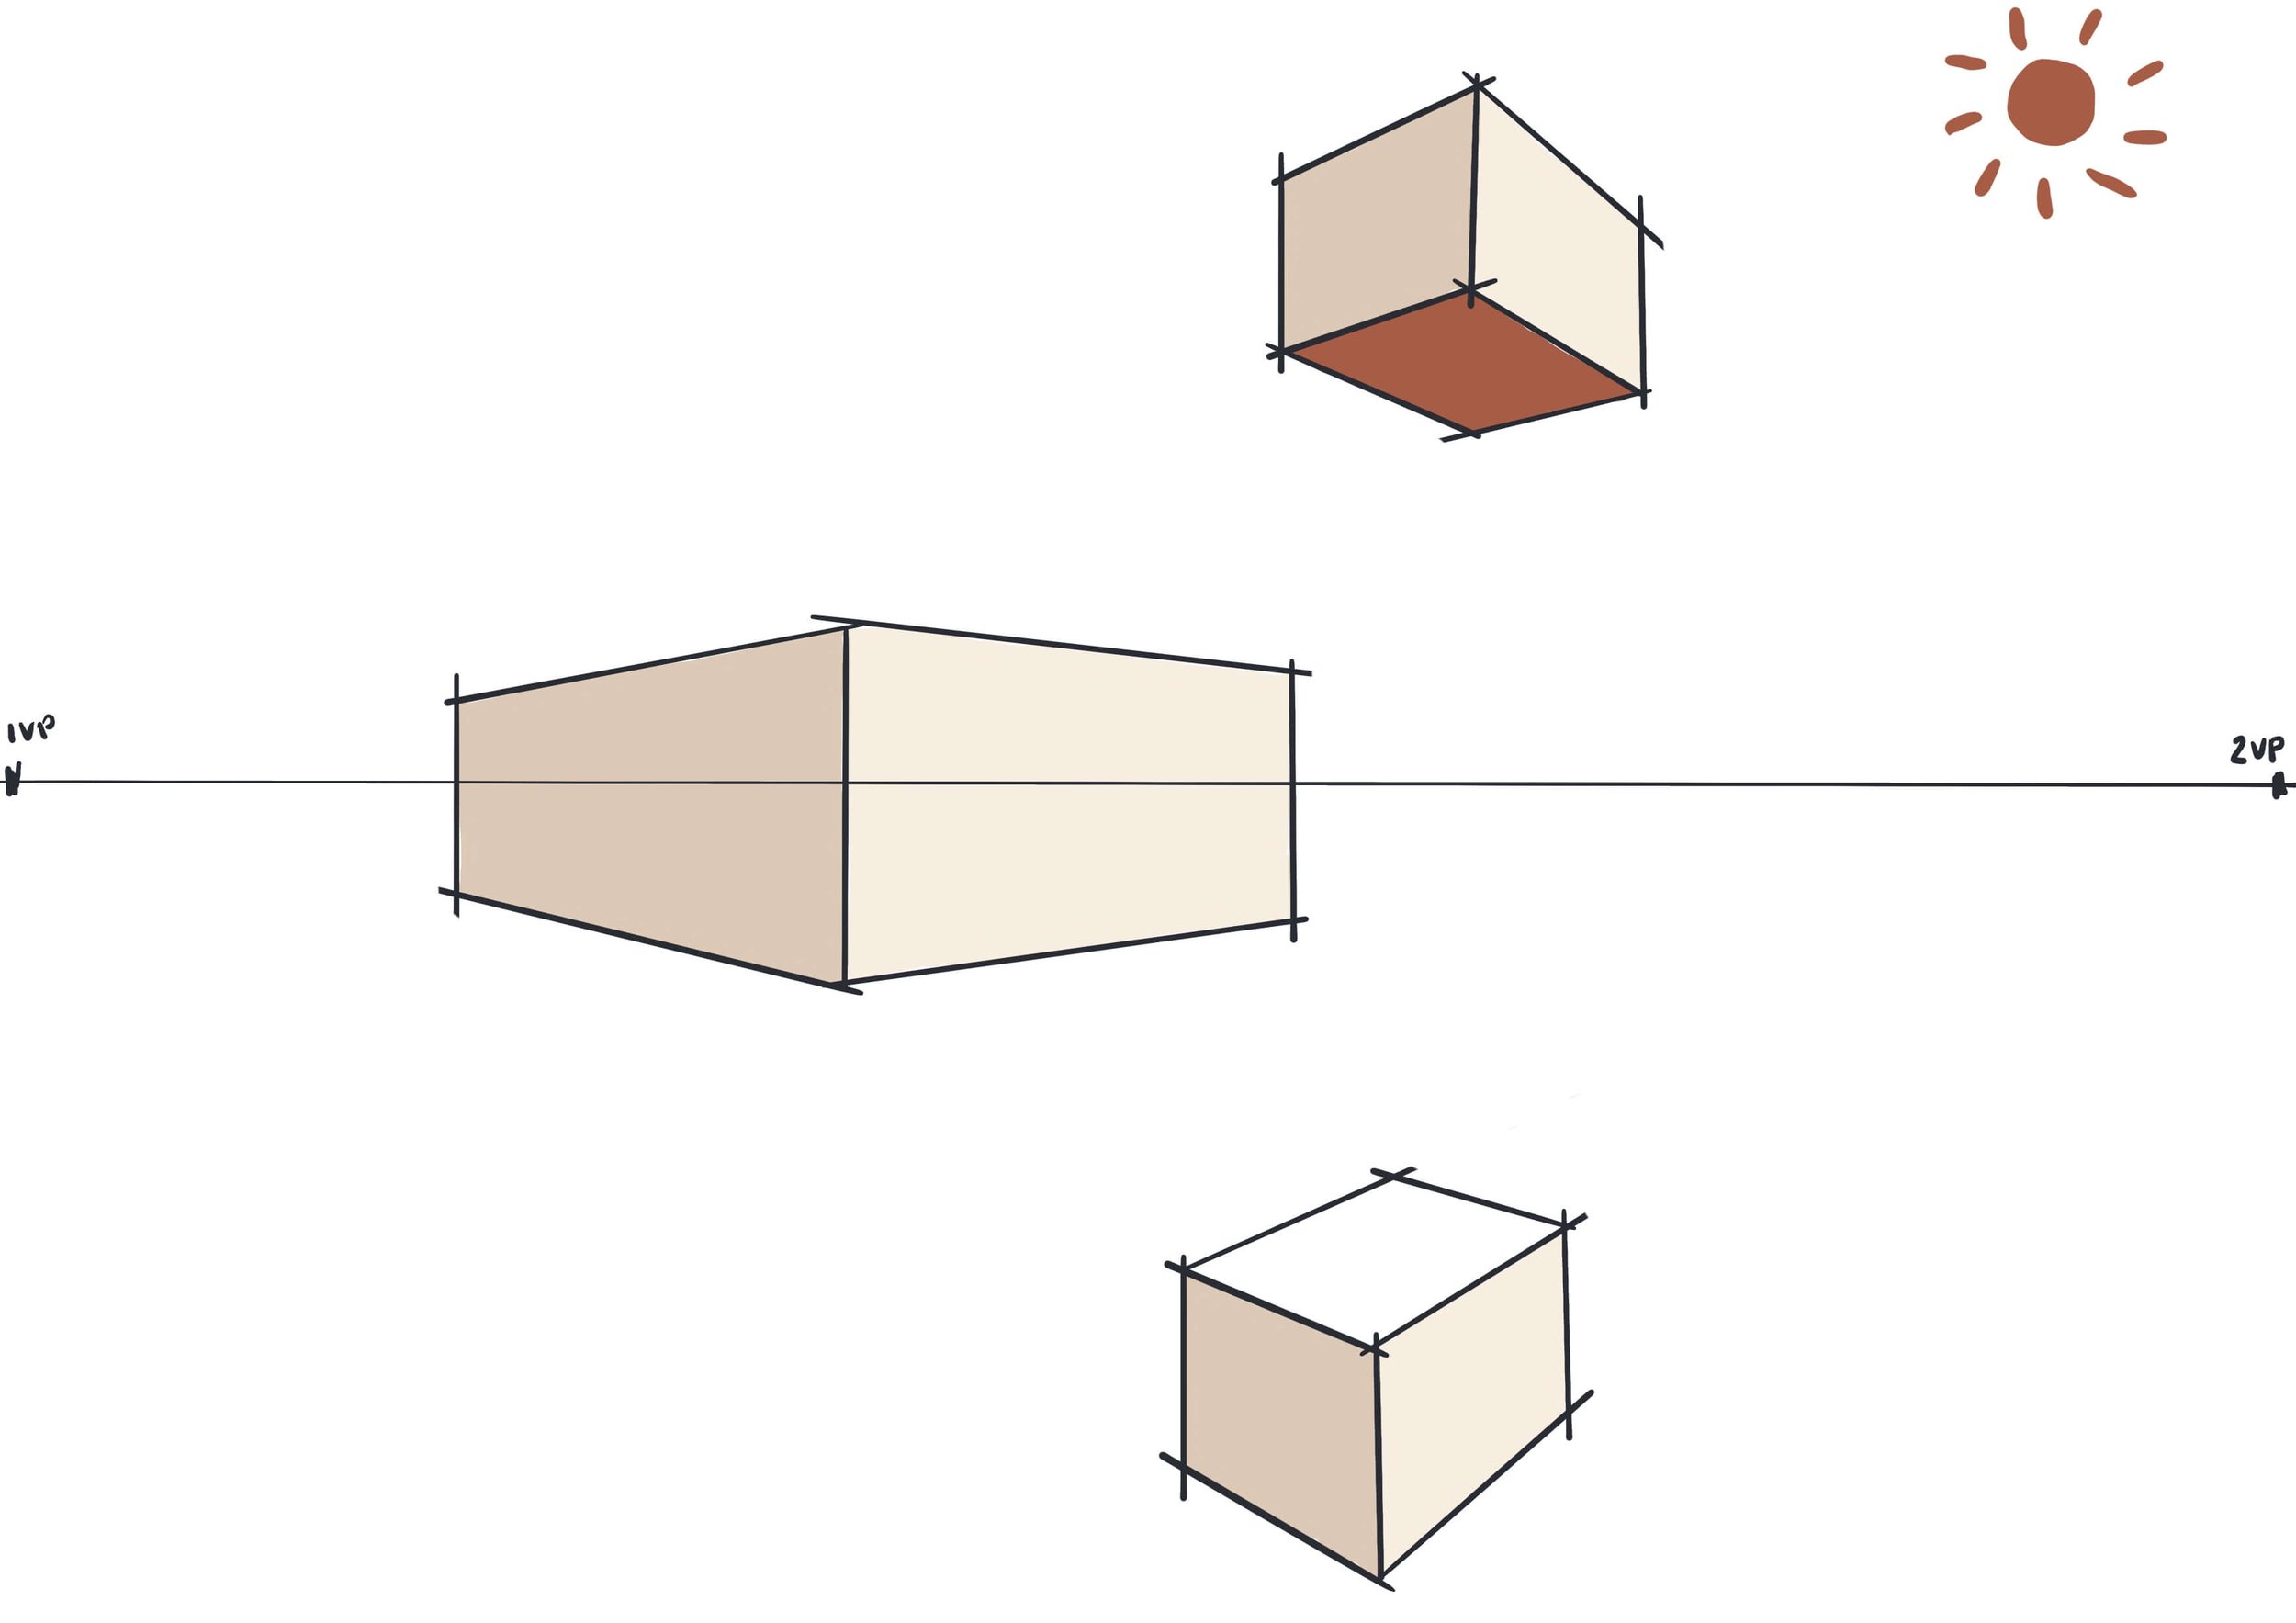
5. Add detail and depth (shadow): Refine the shapes and turn them into whatever it is you are drawing (a building, room, item of furniture, etc) by adding in details such as windows, doors, and so on. For our example, we are adding a light source (the sun) and creating shadows to help communicate that these are 3D boxes. The light from the sun hits the side of the box it faces, the side of the box underneath or facing away would then be in shadow.
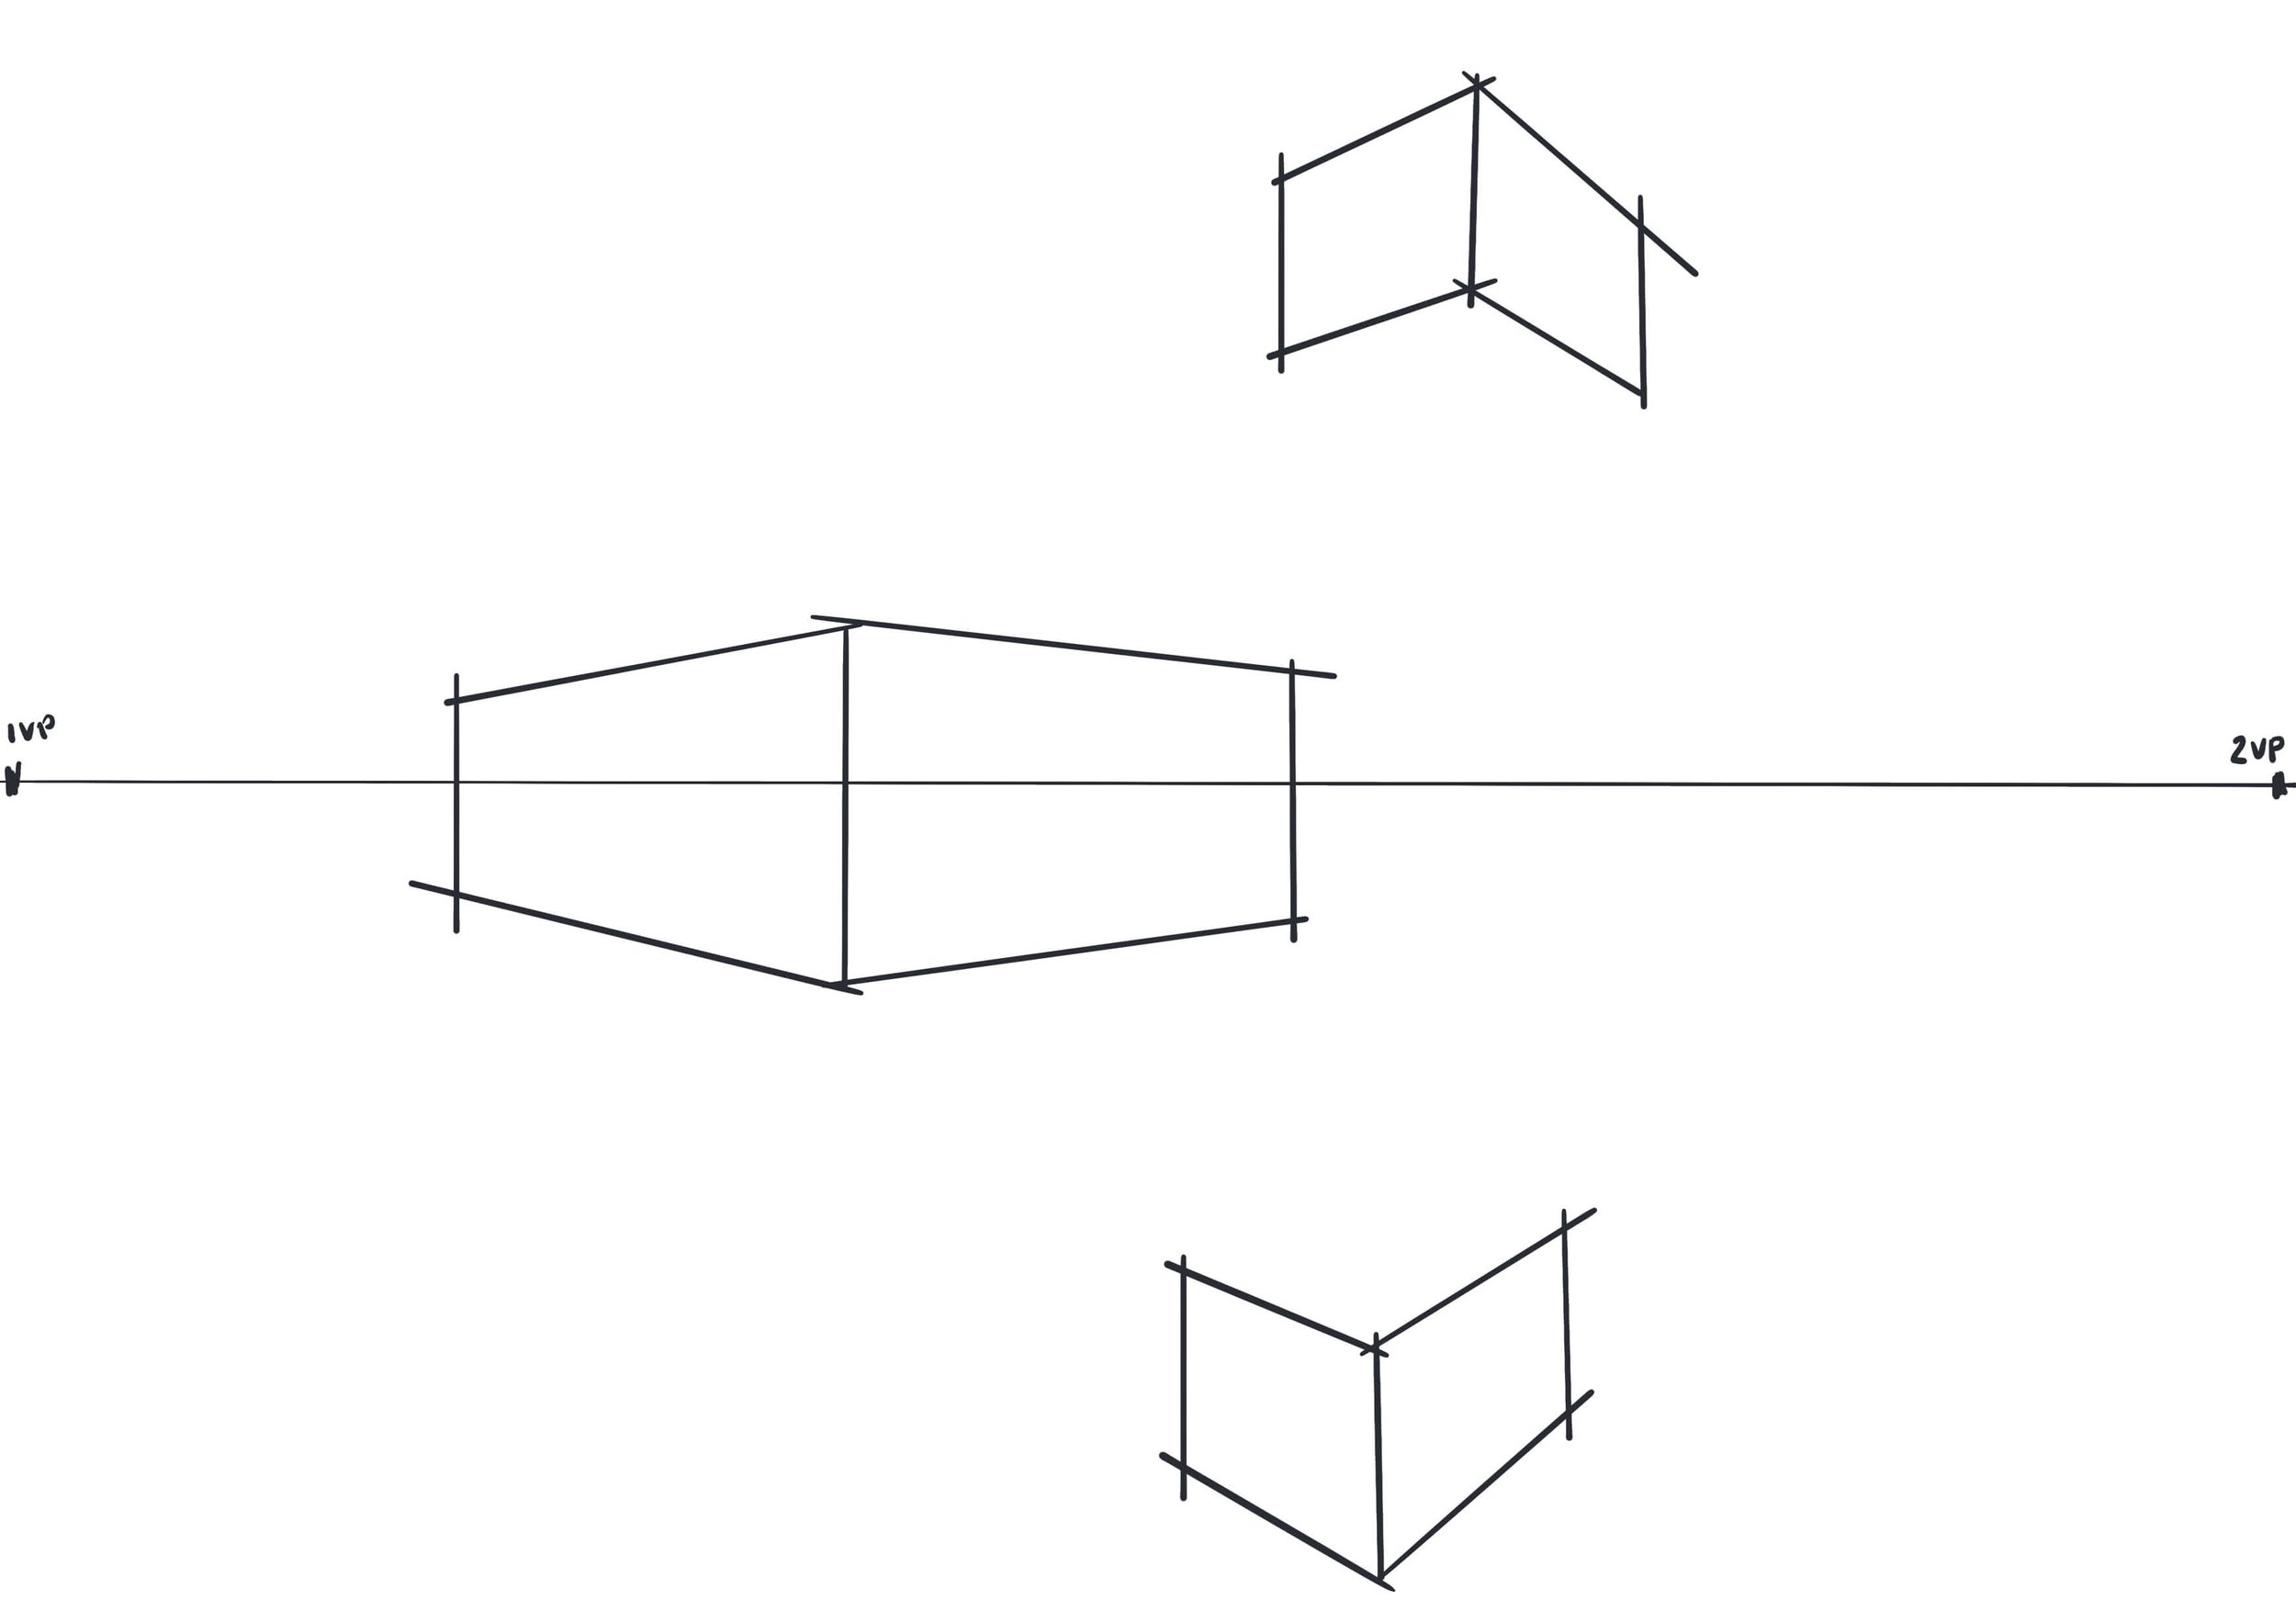
At this stage you can also draw inside the box to show a wire frame. To do this, draw in the opposite direction so the inside left side of the box goes back to 2VP and the right side goes back to 1VP. Boxes above the horizon/eye level are drawn above and so we can see the underside of the box. Boxes below the horizon show us the top of the box.
Practice drawing various scenes and objects in 2 point perspective to improve your skills and build confidence. Join our email list to access our Resource Library which includes perspective practice sheets to help you in levelling up your drawing skills.
pin it